Adding to our growing list of tech tips this week is Microsoft Bookings.
If you have missed out on reading our previous Tech Tips, you can find them here:

So, what exactly is Microsoft Bookings? Much like more well known apps such as HubSpot Meetings, Calendly and Simplybook, Microsoft Bookings makes scheduling and managing appointments a breeze. Bookings includes a web-based booking calendar and integrates with Outlook to optimise your staff’s calendar and give your customers flexibility to book a time that works best for them.
Microsoft Bookings reaches the 5th anniversary of its worldwide release this month and we thought we would celebrate with a spotlight on this little known feature available to subscribers of Microsoft 365, users must have a Business Standard License at minimum to access and create booking calendars but they can invite other users with lower level licenses such as Microsoft 365 Basic.
Bookings integrates with other Microsoft applications including Microsoft Outlook Calendar and Microsoft Teams. It has three primary components:
-
A booking page where your customers and clients can schedule appointments with the staff member who should provide the service or run the
appointment. This web-based scheduling page can be shared via a direct link, your Facebook page, and even through link embedding within your
website.
-
A web app that contains a set of web-based, business-facing pages where Bookings calendar owners and administrators within an organization
can define appointment types and details, manage staff schedules and availability, set business hours, and customize how appointments are
scheduled. These pages allow for versatility and the ability to customise a Bookings calendar to fit the diverse needs of the person or
organization.
-
A business-facing mobile app where Bookings calendar owners and administrators can see all of their appointments, access customer lists and
contact information, and make manual bookings on the go.
In this round of Tech Tips we cover:
- Accessing Bookings
- Setting up a calendar
- Setting timezones
- Adding staff to a bookings calendar
- Adding a service
- Sharing your Bookings form
Accessing Microsoft Bookings
Microsoft Bookings is linked to Outlook, you can access the administration function of Bookings head to:
https://outlook.office.com/bookings
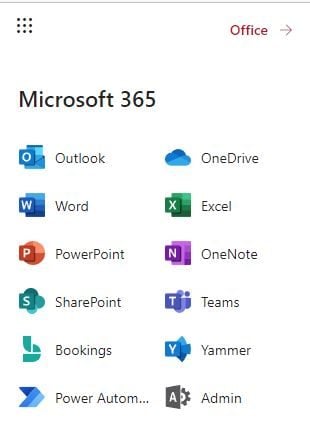
Or choose Bookings from your online Microsoft 365 menu
Setting up a calendar
Once you have accessed Bookings you can immediately create a new calendar, head to Create New Calendar as shown in the
image below

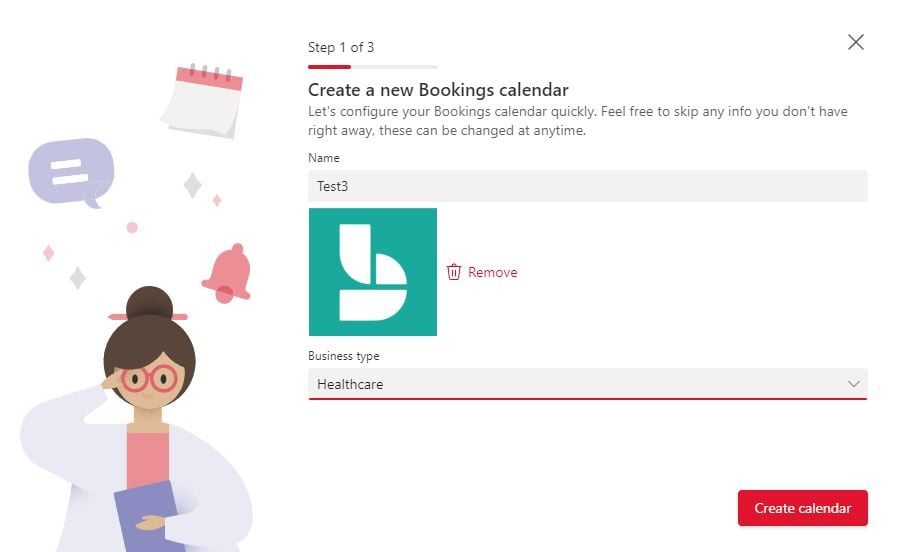
Now you can start the first steps of your calendar creationby either creating a calendar from scratch or creating a new one

Now you are ready to name your calendar, add a logo and choose your business type.
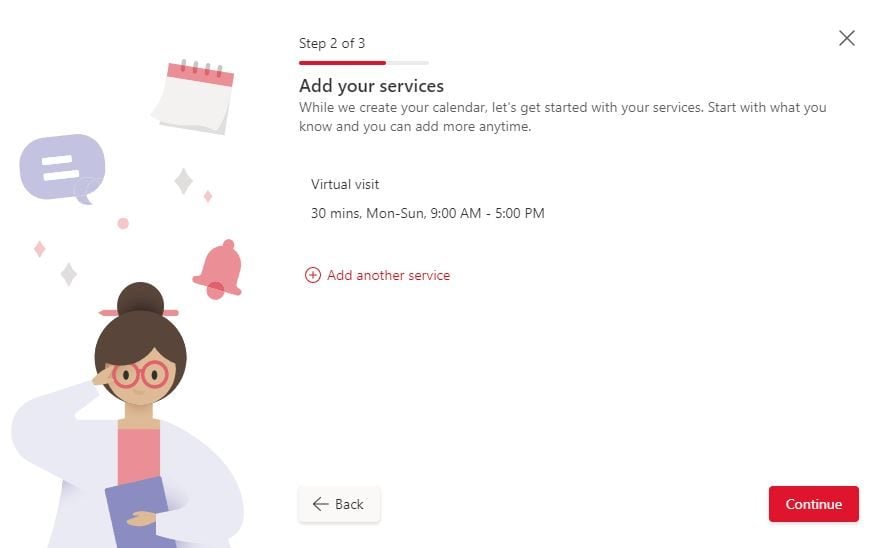
With that out of the way, you can now add a service. You can add more services later
by following the steps our section below. When you add a service you can customise it to suit your needs including the name of the
service, the default length, price (if applicable), whether you want to run it online via Teams or Skype, business operating
hours and otheruseful things such as a time bufferso that you haeva little bit of breathing room between meetings.
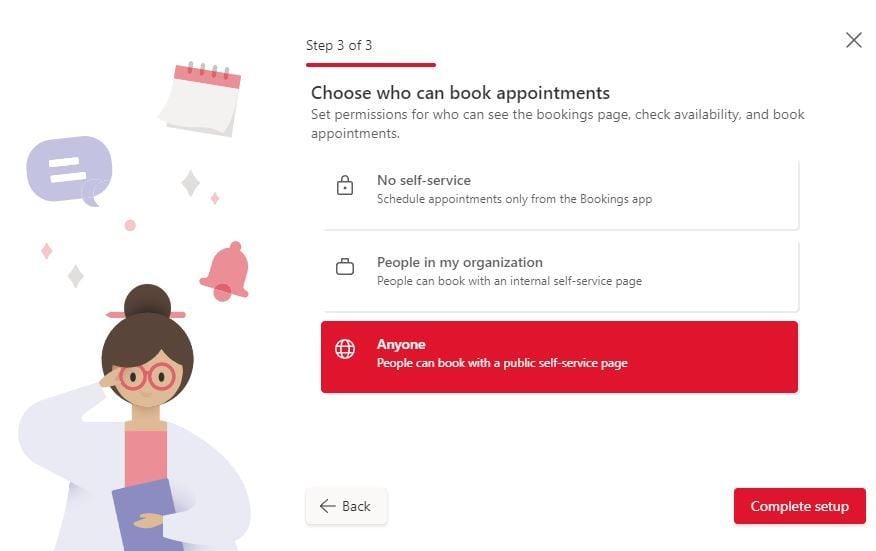
When you have added all the services you want you will now get to choose who
can make bookings for this calendar, the options are outlined below. Click Complete setup and you have your first
calendar ready.
Setting Timezones
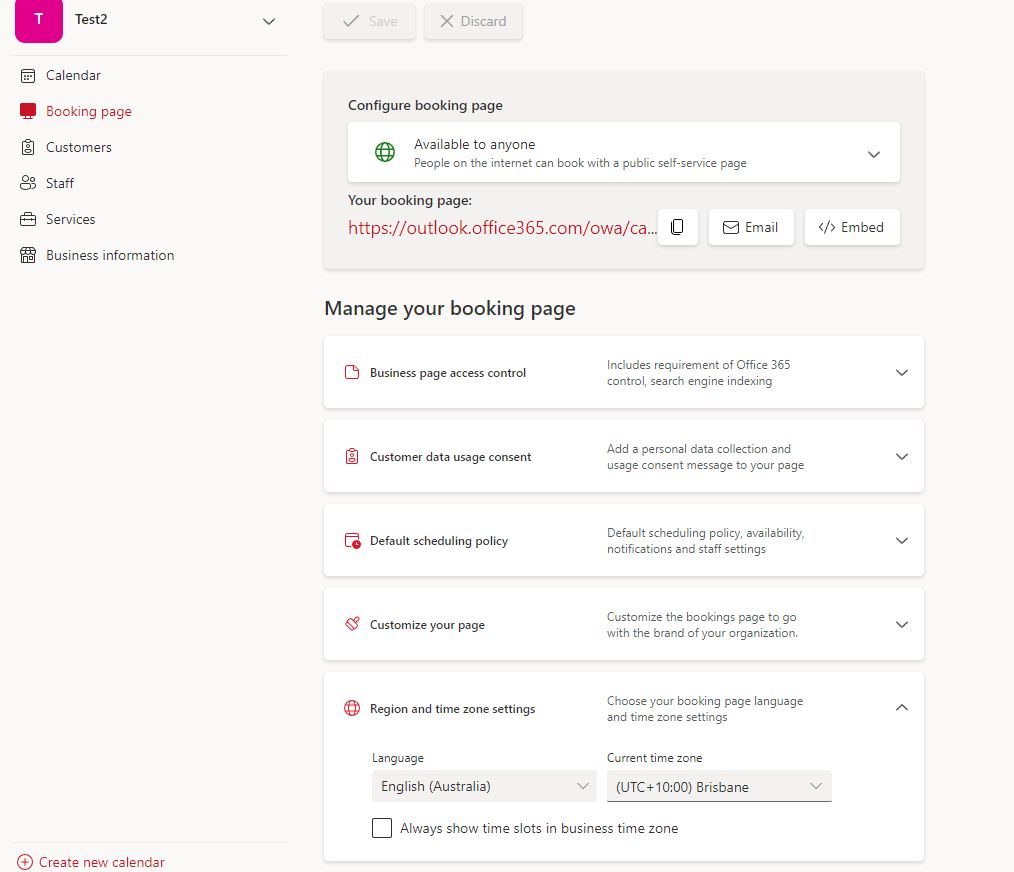
All times are in the business time zone (your local time zone) by default. Any setting that you configure for a Bookings calendar, such as
working hours, will appear in this time zone.
The Self-service page has the ability to display all the appointment times in the end user's time zone, which can be turned off if you would like.
If Always show time slots in business time zone remains unchecked on the Bookings page tab, then people visiting the page will see time slots in their own local time zones, which is great during daylight savinngs time here in Australia or for international meetings.
There’s no provision to set time zone for staff in Bookings. Staff time zone, and thus business hours, will be in the business time zone. This is important to note if you have staff in mulitple states or overseas.
Adding staff to a bookings calendar
-
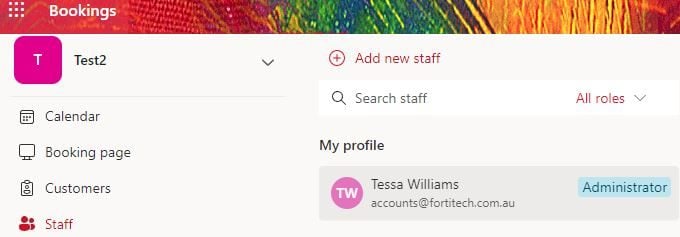
Go to the Manage staff page and select Add staff
- Select the Add Staff button.
When adding staff from within your organization, type their name in the Add people field and select them when they appear in the drop-down menu. The other fields will automatically populate.
Once a staff member is added, you can edit the name that appears on all Bookings communications by selecting the x next
to their name and editing the Add people field. This can be useful if you would like staff members to have a
specific title or name displayed for customers, such as listing Stephen Strange as “Dr. Stephen Strange, M.D., Ph.D.”
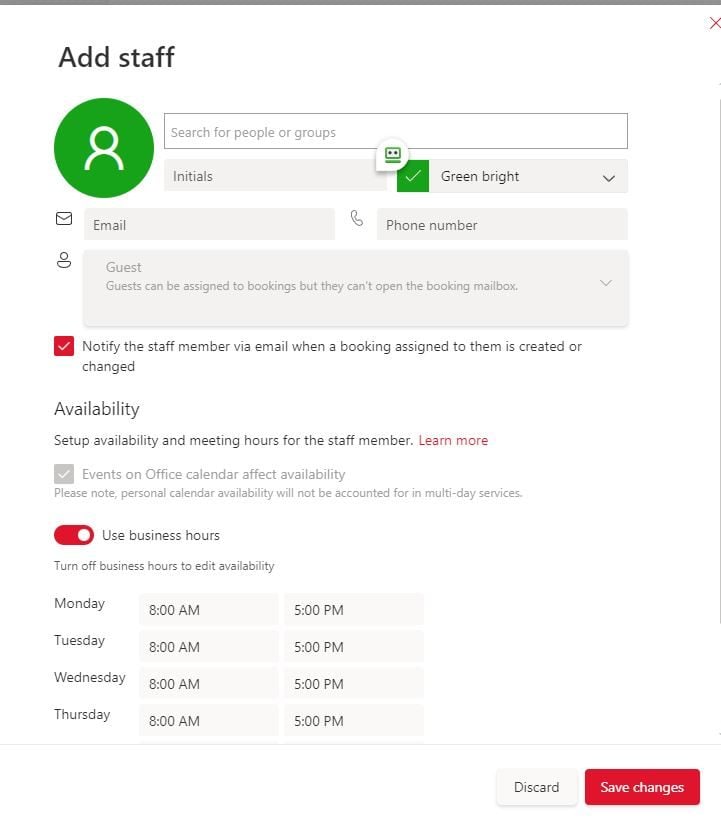
3. For each staff member, select a role: Administrator, Viewer, or Guest.
- Administrators can edit all settings, add and remove staff, and create, edit, or delete bookings.
- Viewers can see all the bookings on the calendar, but they can’t modify or delete them. They have read-only access to settings.
- Guests can be assigned to bookings, but they can’t open the booking mailbox.
4. Select Notify all staff via email when a booking assigned to them is created or changed to enable staff emails.
5. Select Events on Office 365 calendar affect availability if you want the free/busy information from staff members’ calendars to impact availability for bookings services through Bookings.
6. Select Use business hours to set all bookable times for your staff members to be only within the business hours that you set in the Business hours section on the Business Information page.
7. By deselecting this box, staff can be given custom hours that further limit when they can be booked. This
is helpful for scenarios where a staff member may only be on site Tuesdays and Wednesdays, or they dedicate their mornings for one type of
appointments, and their afternoons for other types.
Adding Services
If you have some new services to add, you can easily do this via the Services menu.
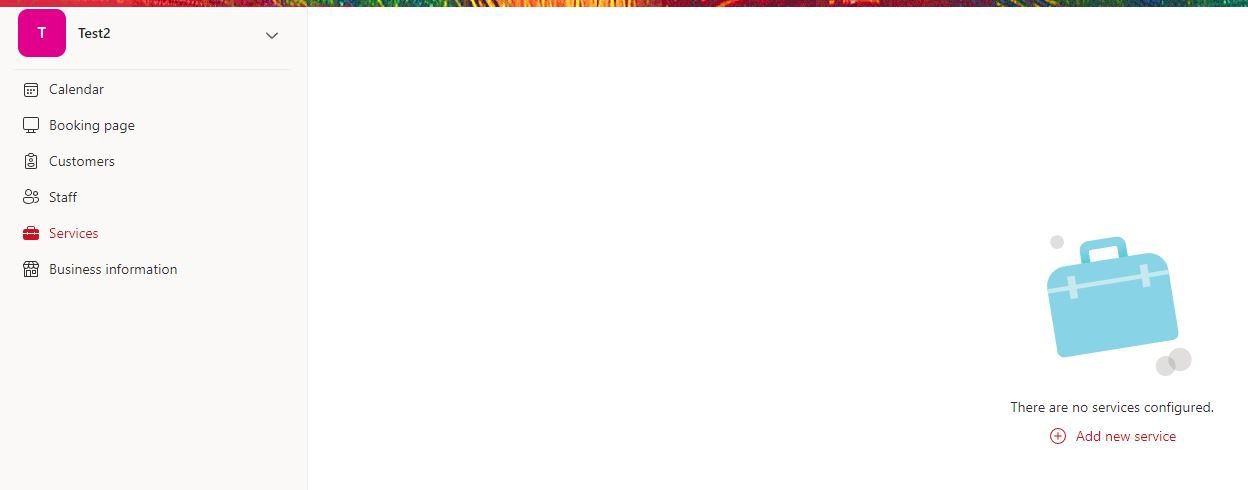
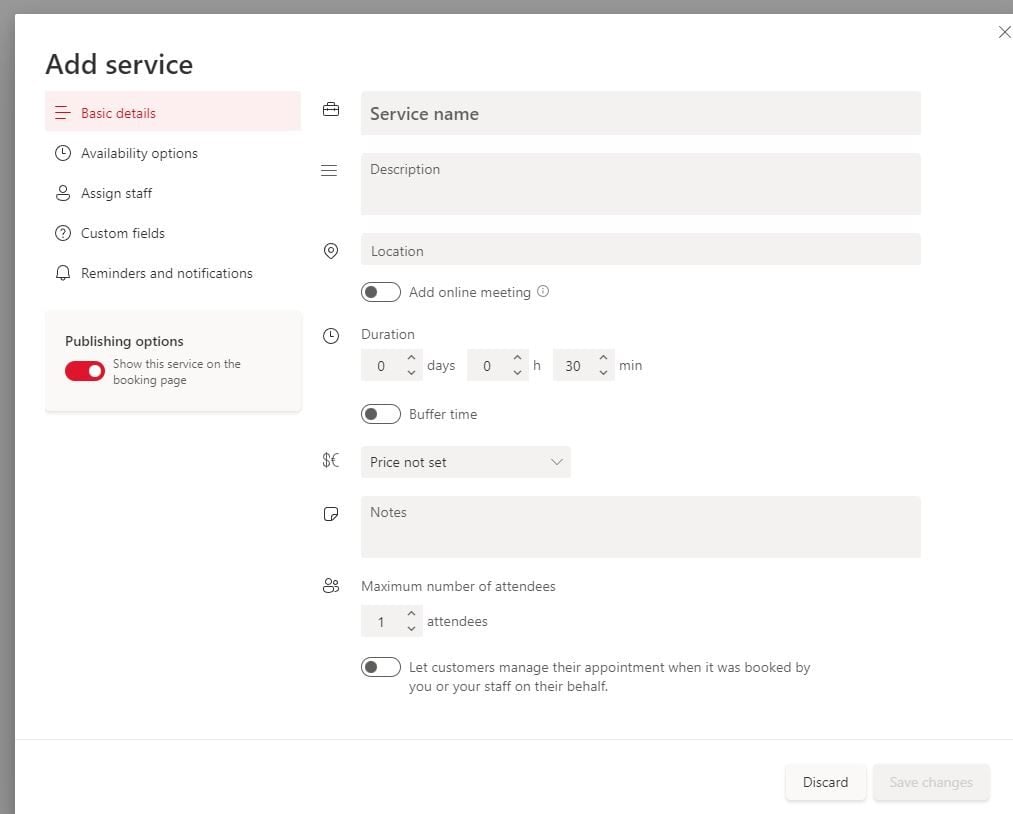
Click on Add New Service from here complete the basic details of your service, availability of the service i.e perhaps it is only available on Monday's and assign staff to the service
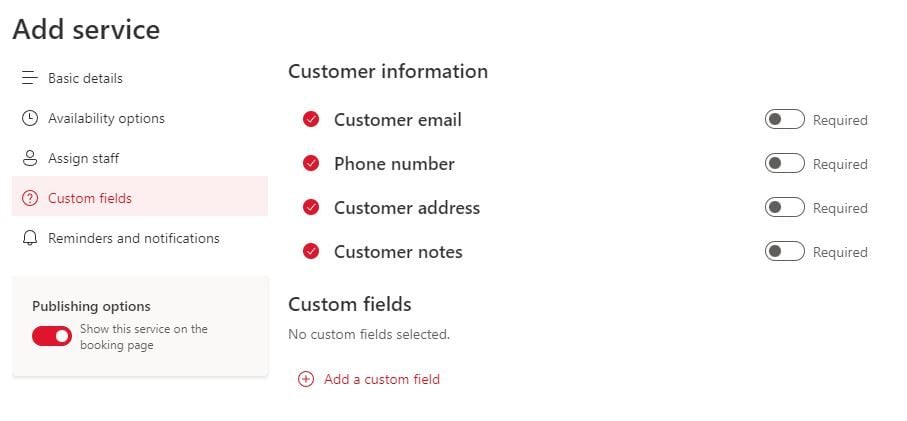
Next you will be abel to include any custom fields such as whether the customer is required to leave you some notes when making the
booking
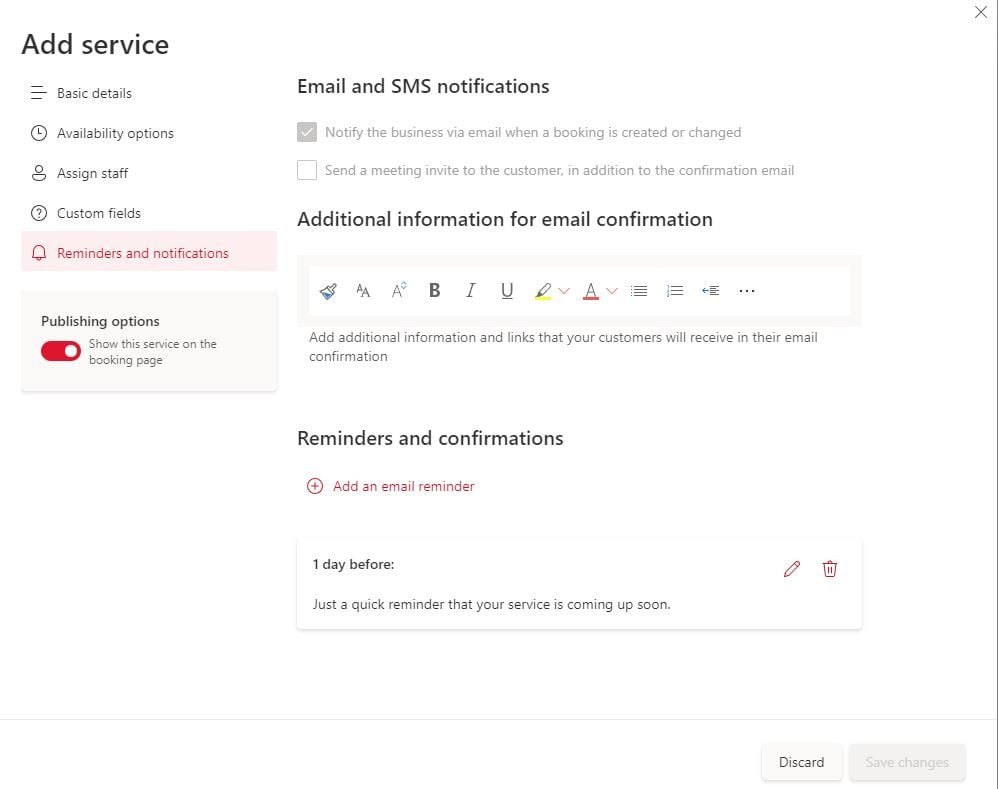
Next you can set up email reminders to send at a time of your choosing with specific reminder information such as your business address or COVID-19 health guidelines.
Unfortunately, SMS reminders are not yet available for Australian organisations at this time.
Save your changes and you are ready to go with the new service.
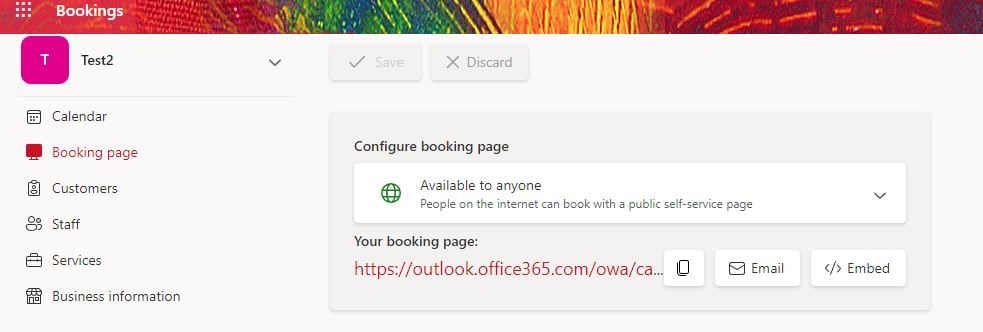
Sharing your Bookings form
Once you have completed the setup of your Bookings form you can easily share it by heading to Booking Page and choosing to
copy the link so that you can include it in an email signature for instance, emailing the link via Outlook or embedding it into your
website via iframe.
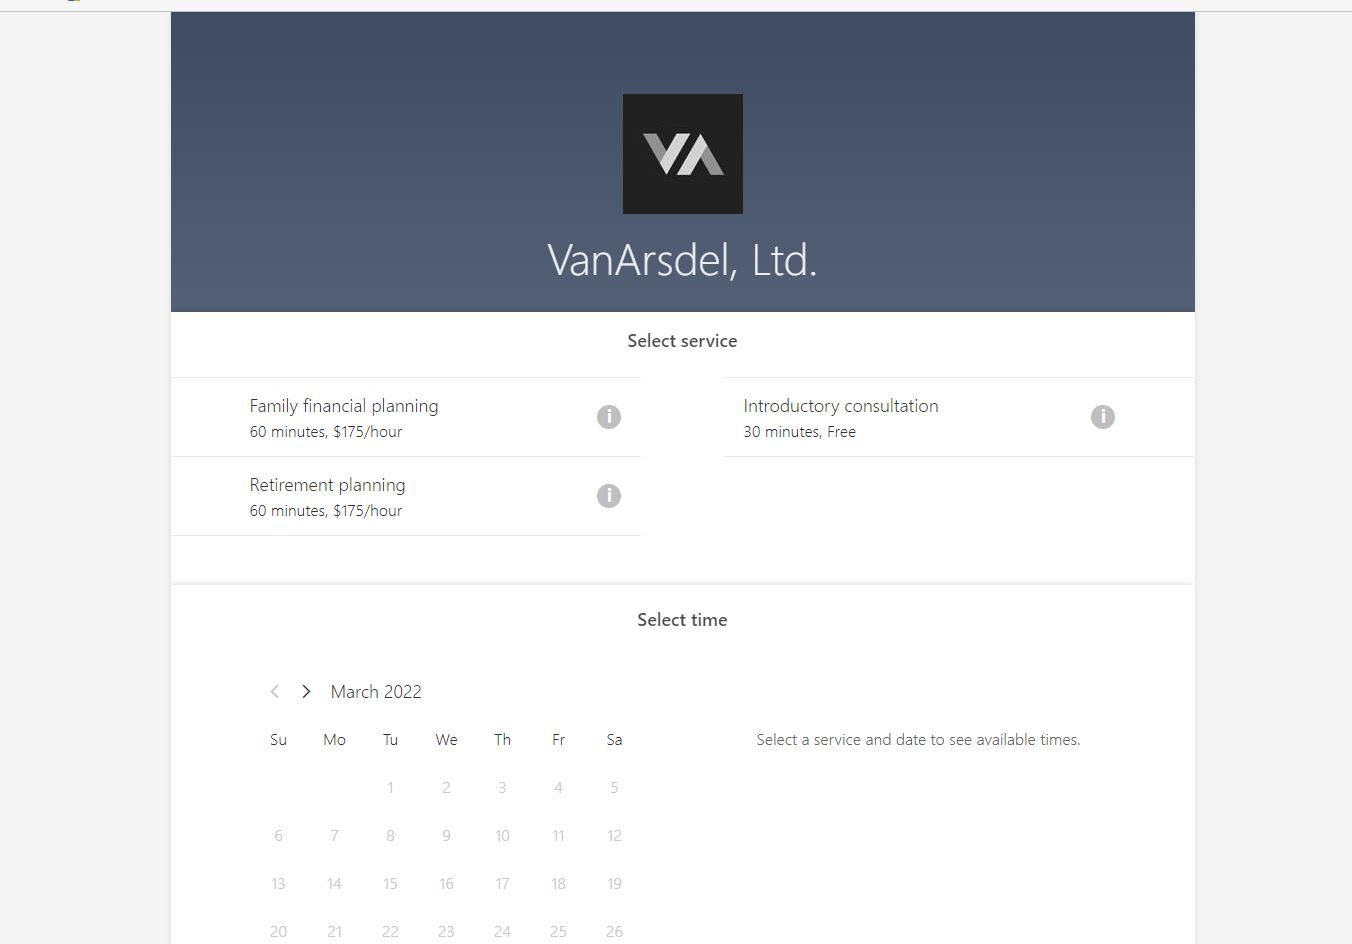
Here is an example of a bookings page for a financial services firm:
And that rounds out another of our Tech Tips, we trust that you have found these Bookings tech tips useful and can use some of
them to improve your productivity at home and work.
If you would like a hand to setup Bookings for your own organisation, just Contact us today to book a consultation.