Following on from our Tech Tips focusing on Microsoft Outlook and Microsoft Word this weeks blog highlights some tips for OneDrive for SharePoint.
As you may have seen in our previous Client Install blog, SharePoint paired with the OneDrive for Business App is a fantastic way to store and collaborate on your business documents.
In this round of Tech Tips we cover:
- Sharing links with others
- Accessing files on your mobile
- Scan a whiteboard, document, business card or photo
- Restore a previous version of a file stored in OneDrive
- Backup your local documents, desktop and pictures
Sharing links with others
Sharing links are the easiest way to securely share files in the cloud. Generating links looks identical in almost every interface, whether
you use it on the web, or in File Explorer, and in other applications such as Outlook or even mobile apps. Right-click on a
OneDrive file in File Explorer, and you will find an option to Share.
On the web, it looks very similar: click a file, and click Share.
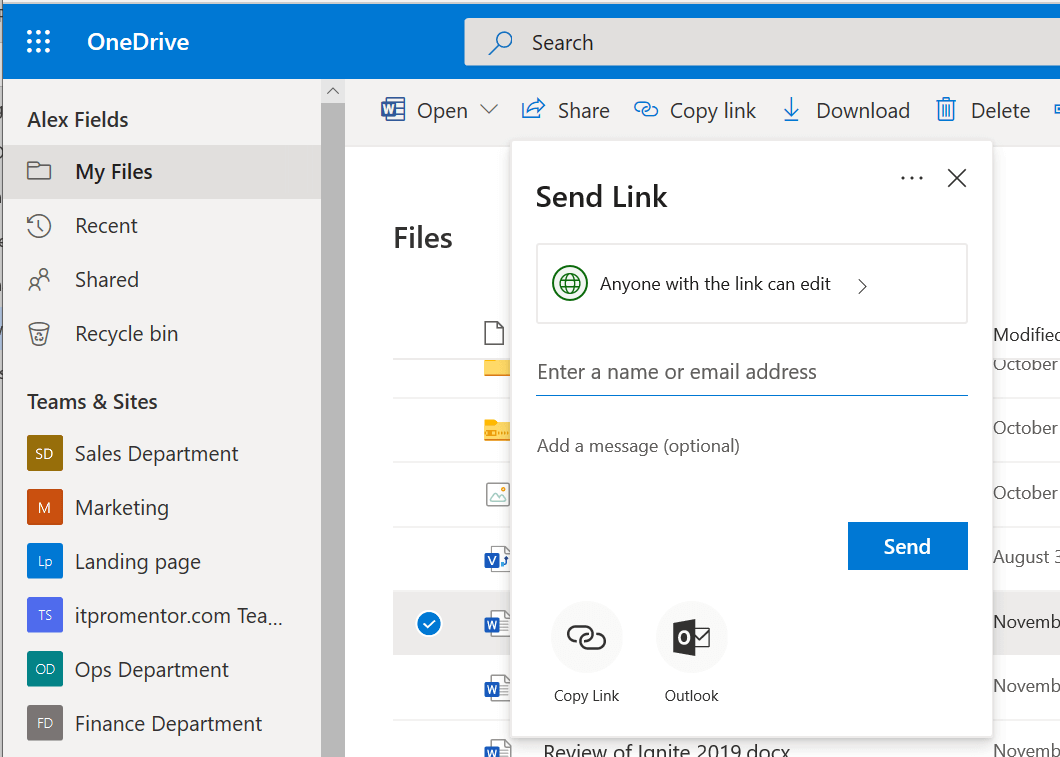
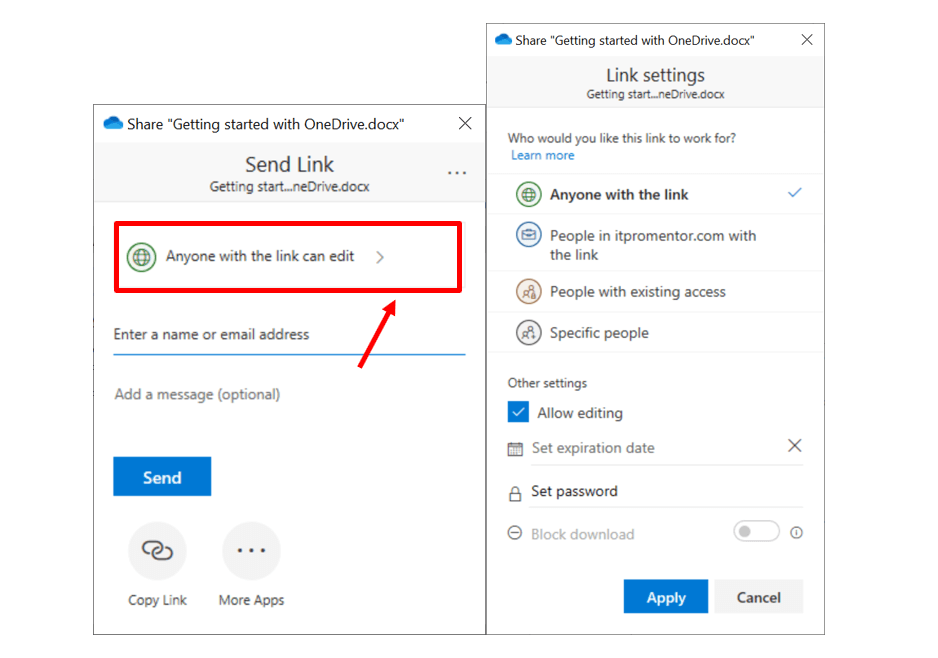
Before proceeding, click to expand the permissions choices that you have.
There are four types of links you can choose between.
- Anyone with the link – This is a secret, revocable link that is transferrable to other people. That means it behaves exactly like a normal attachment. If you send it to someone, they can forward it to anyone else. This is my go-to: it is the easiest type of link to use, as it does not require any sign in—just click the link to see the file.
- People in [Your Organization] with the link – This is a secret, revocable link that is transferrable only within your company. If someone in your organization attempted to forward this link to an outside party, they would not be able to access the file.
- People with existing access – If you have previously granted access to certain individuals, and you just need to get a link to send again, then you can use this option.
- Specific people – This is a secret, revocable link that is non-transferable. Only people you specify can open it. These people will be required to prove their identity with a one-time code sent via email.
Notice that you can also toggle Allow editing, Set an expiration date, Set a password, or even Block download.
Using links, you can confidently share files, granting only the level of access you want and for the time you want it.
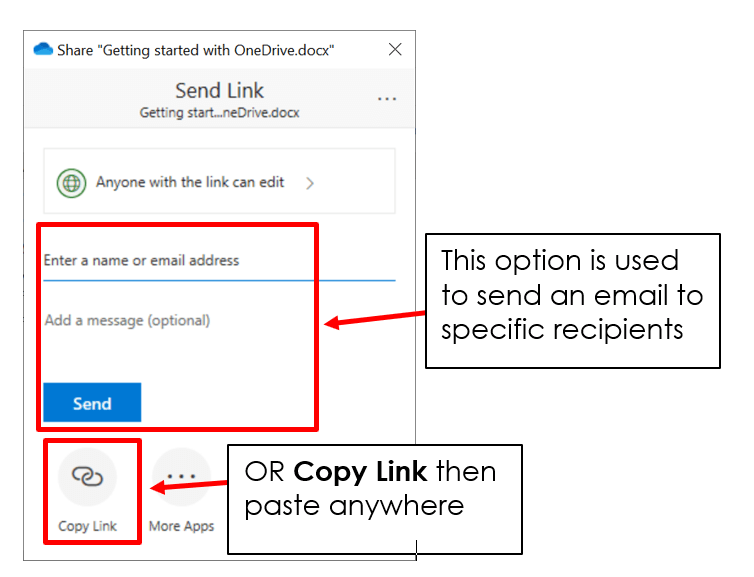
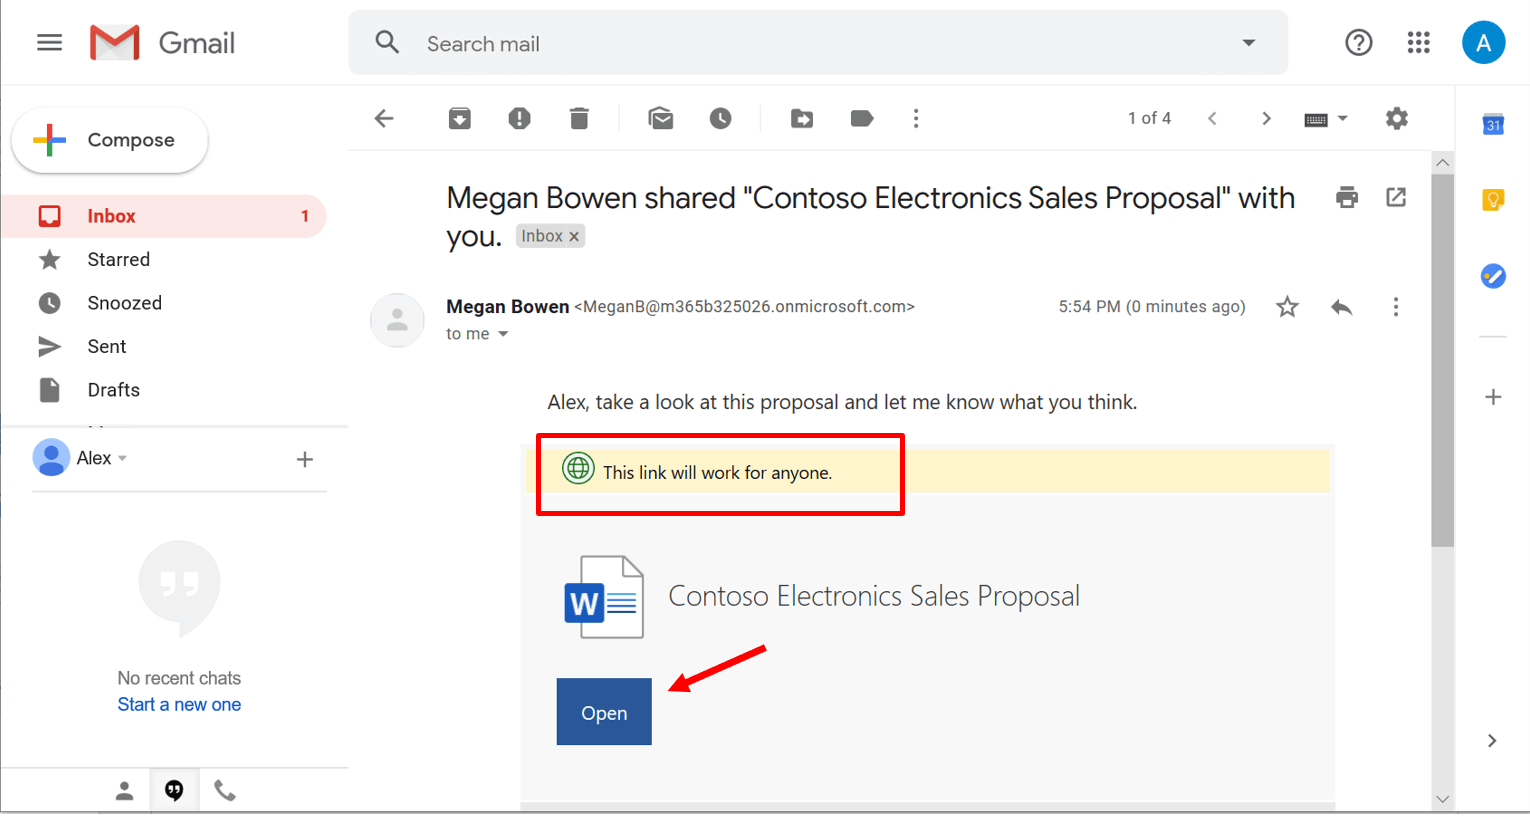
After making your selections, you can enter an email address and add a message (optional) then press Send. The below is an example of what the recipient would see.
Otherwise, if you Copy Link, then you can paste your link anywhere you like, whether Outlook, Teams, or even social media (e.g. Anonymous links would work anywhere).
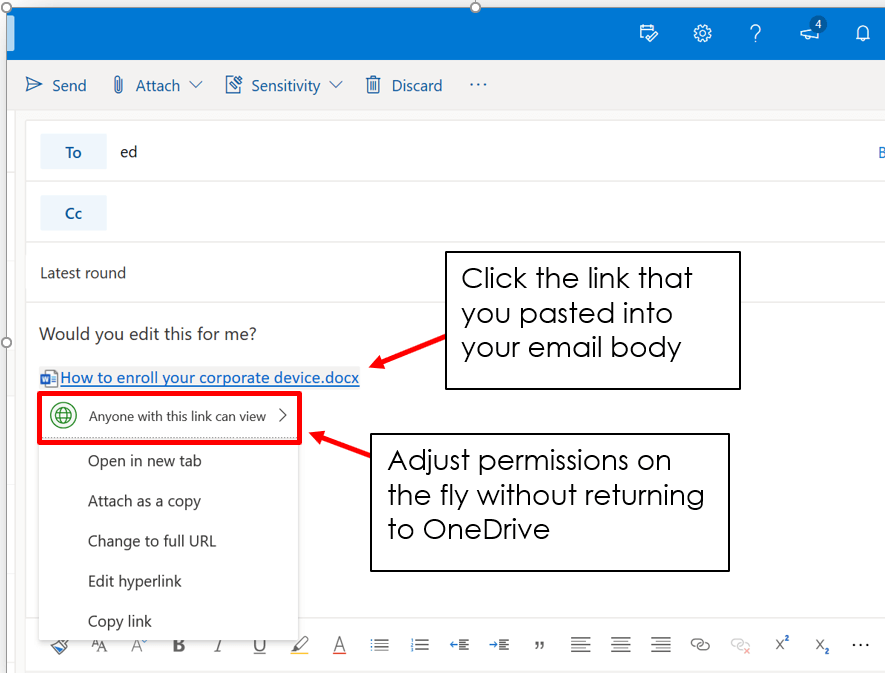
In the Outlook web client, you can click on any link that you pasted to adjust its permissions without returning to OneDrive. This integration will begin to work for more Microsoft 365 applications during the course of 2020.
Links are better than email attachments, since you can customize permissions (e.g. do not allow editing, block download, etc.), and you can also rescind access at any point in time, or automatically expire access after a specified period of time has elapsed. Not only that, but any changes or edits made by recipients of your file are saved back to your OneDrive automatically, without having to send multiple attachments back-and-forth.
Accessing files on your mobile
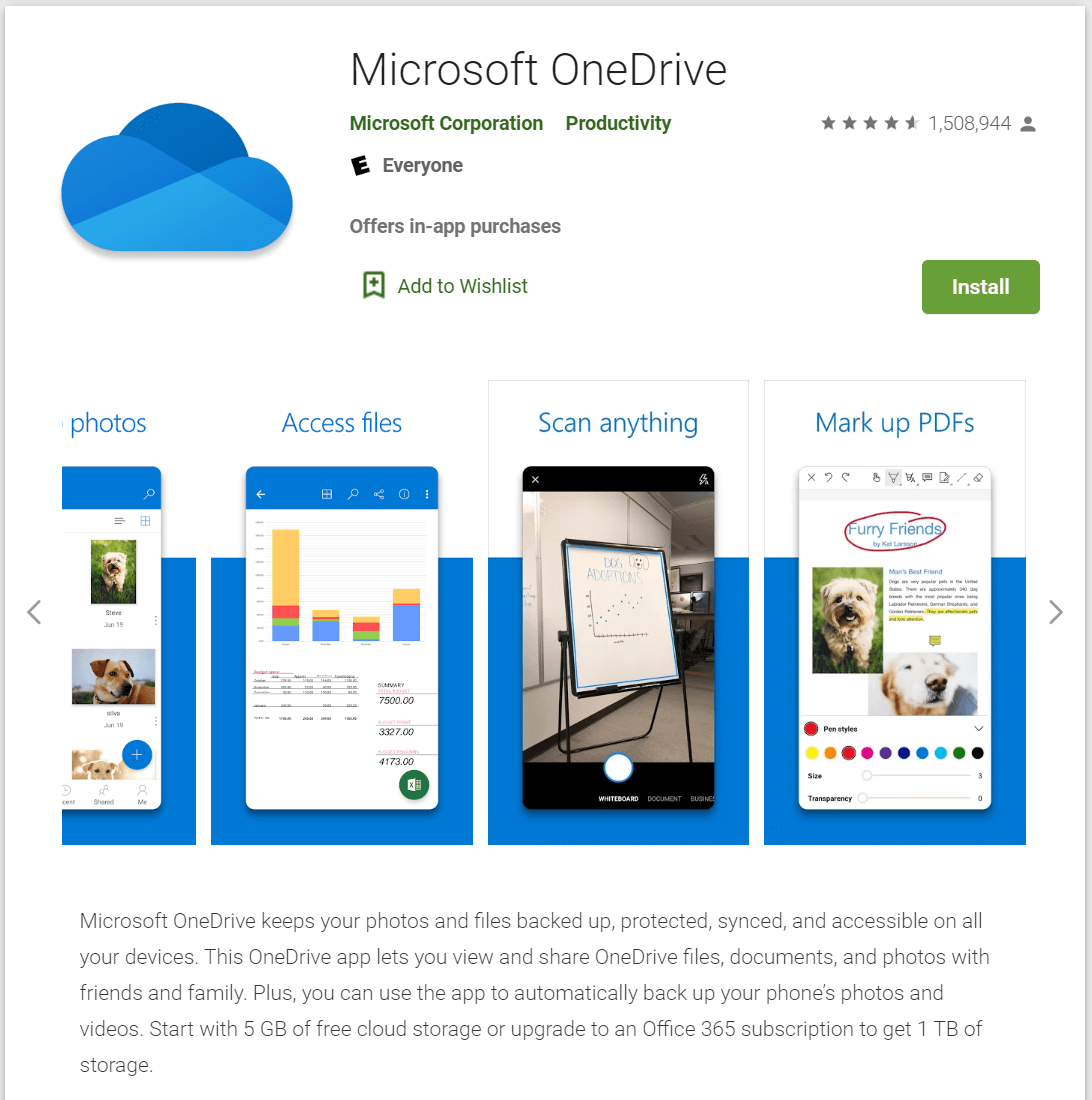
Once your files are in the cloud you can access them from anywhere, even mobile devices. Be sure to go download the OneDrive app for iOS or
Android from your favorite app store.
Within the app, you can access all of your files in Microsoft 365.
Scan a whiteboard, document, business card or photo
Now that you have installed the app on your mobile, did you know that you can also scan files into OneDrive using your mobile
device’s camera, and the text becomes searchable!
In the OneDrive app, tap Scan ![]() . You can also tap Add at the top of the screen, then tap Scan. (To exit out of Scan mode without
scanning anything, just tap the left arrow icon in the upper left corner of your screen.)
. You can also tap Add at the top of the screen, then tap Scan. (To exit out of Scan mode without
scanning anything, just tap the left arrow icon in the upper left corner of your screen.)
Select the appropriate flash setting (on, off, automatic, or torch) by tapping the Flash icon in the upper right corner.
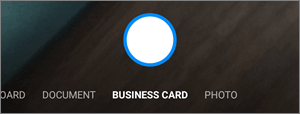
Select either Whiteboard, Document, Business Card, or Photo, then tap
the white circle icon to scan the item. (On smaller screens, you may need to swipe left to see the Photo option.)
|
Tips for iPhone
|
Once you've scanned your item, you can crop it, rotate it, add text, or highlight part of it. (If you don't like the image, tap the left
arrow icon in the upper left to delete the scan and try again.)

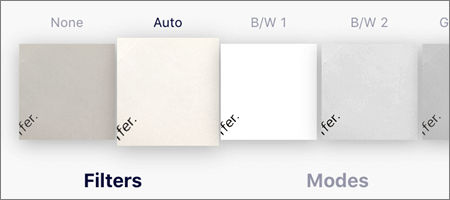
You can also modify the filter you selected earlier (Whiteboard, Document, Business Card, or Photo), or change the mode (lighting adjustments and grayscale), by tapping Filters at the bottom.
Once you're done editing your item, tap Done, enter a file name, then tap Save. The file will
automatically save as PDF by default.
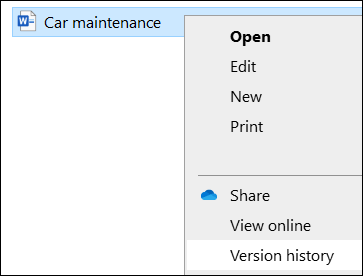
Restore a previous version of a file stored in OneDrive
With version history, you can see and restore older versions of your files stored in OneDrive or SharePoint. Version history works with all file types, including Microsoft 365 files, PDFs, CAD files, photos, videos, and more.
Via the desktop App/File explorer
Right-click the file that you want to restore to an earlier version in File Explorer and select Version history. Then select the ellipses (...) next to the version you want and click Restore.
The document version you selected becomes the current version. The previous current version becomes the
previous version in the list.
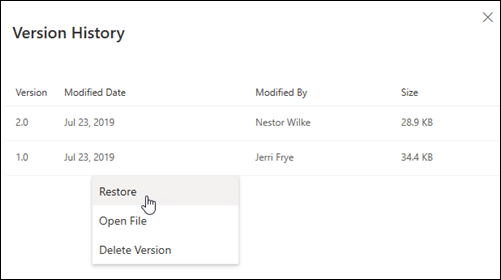
Via OneDrive/SharePoint online
Sign in to OneDrive with your work Microsoft account.
Select the file that you want to restore to an earlier version (you can only restore one file at a time), right-click, then select Version history.
-
In the Version History pane select the ellipses (...) next to the version of the document that you want
to restore, and then click Restore.
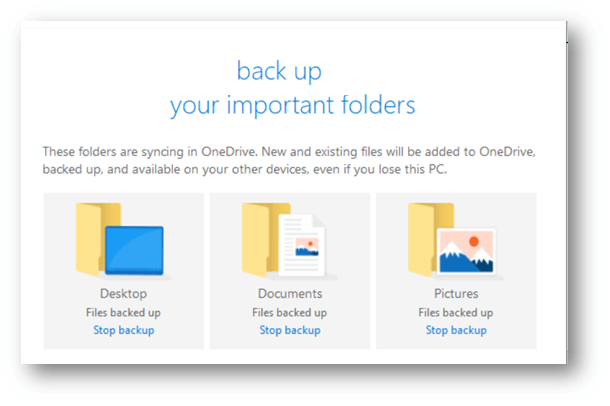
Backup your local documents, desktop and pictures
The backup feature will automatically sync any files in your Documents, Desktop and Pictures libraries on your local computer.
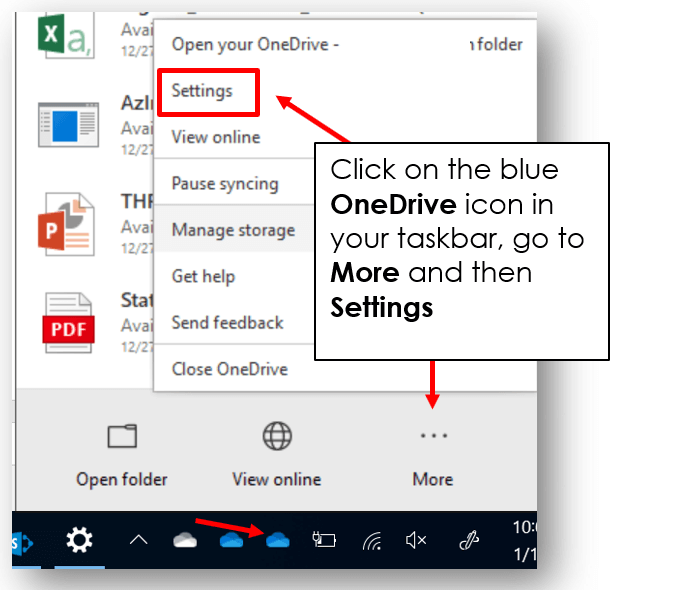
Click on the blue OneDrive icon in your taskbar, go to More and then Settings
Next go to the Backup tab and click Manage backup.
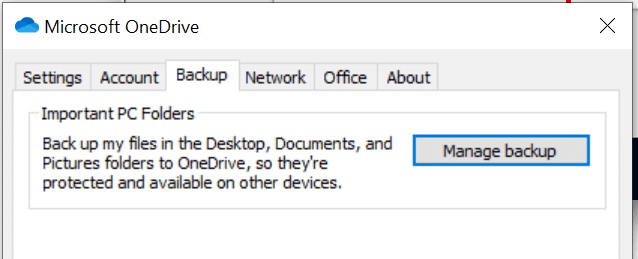
You will then be able to step through a simple wizard to finish the process.
Of course, keep in mind that Microsoft does not backup OneDrive or SharePoint by default, so avoid only having one copy of all your documents in one place if you don't have a third party product backing up your OneDrive and SharePoint files.
And that rounds out another of our Microsoft Office Suite Tech Tips, we trust that you have found these SharePoint/OneDrive for Business tips useful and have the change to adopt some of them into your business.
Keep an eye out on future blogs for more tips for Microsoft Office Suite products.