Following on from our previous Tech Tips for Microsoft Outlook, Microsoft Word, Microsoft Excel, OneDrive for Business, Teams, Windows 10 and most recently OneNote this week we cover Microsoft Forms.
Microsoft Forms is typically used to collect survey data and user responses. Businesses can use the tool to survey employees, gather feedback and even ask for advice on projects and other key decisions. Many businesses also use it to share quizzes, surveys and similar documents.
Another great benefit of the tool is visualized data. Form data is automatically converted into charts and graphs that make your data more functional and easy to interpret.
Forms is included in your Microsoft Office 365 subscription and can be accessed through the online Office portal here: https://www.office.com/launch/forms?auth=2
In this round of Tech Tips we cover:
- Creating a basic form
- Adding a Theme to your form
- Collaborate on your form
- Customise your thank you message, date to respond and email notifications
- Sharing your form
- View Form responses
Creating a basic form
After navigating to Forms through the Office 365 portal you will be greeted with the Forms dashboard, from here you will have the
option to create a New Form or a New Quiz
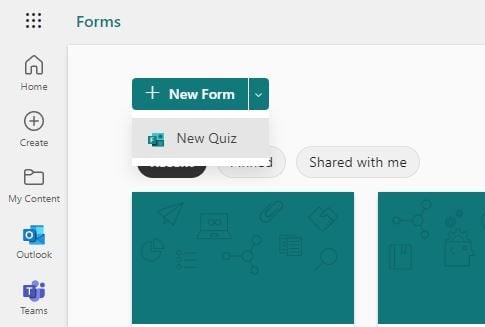
We will use New Form in this example, once you have selected that you will be taken to your new form and can give it a name and
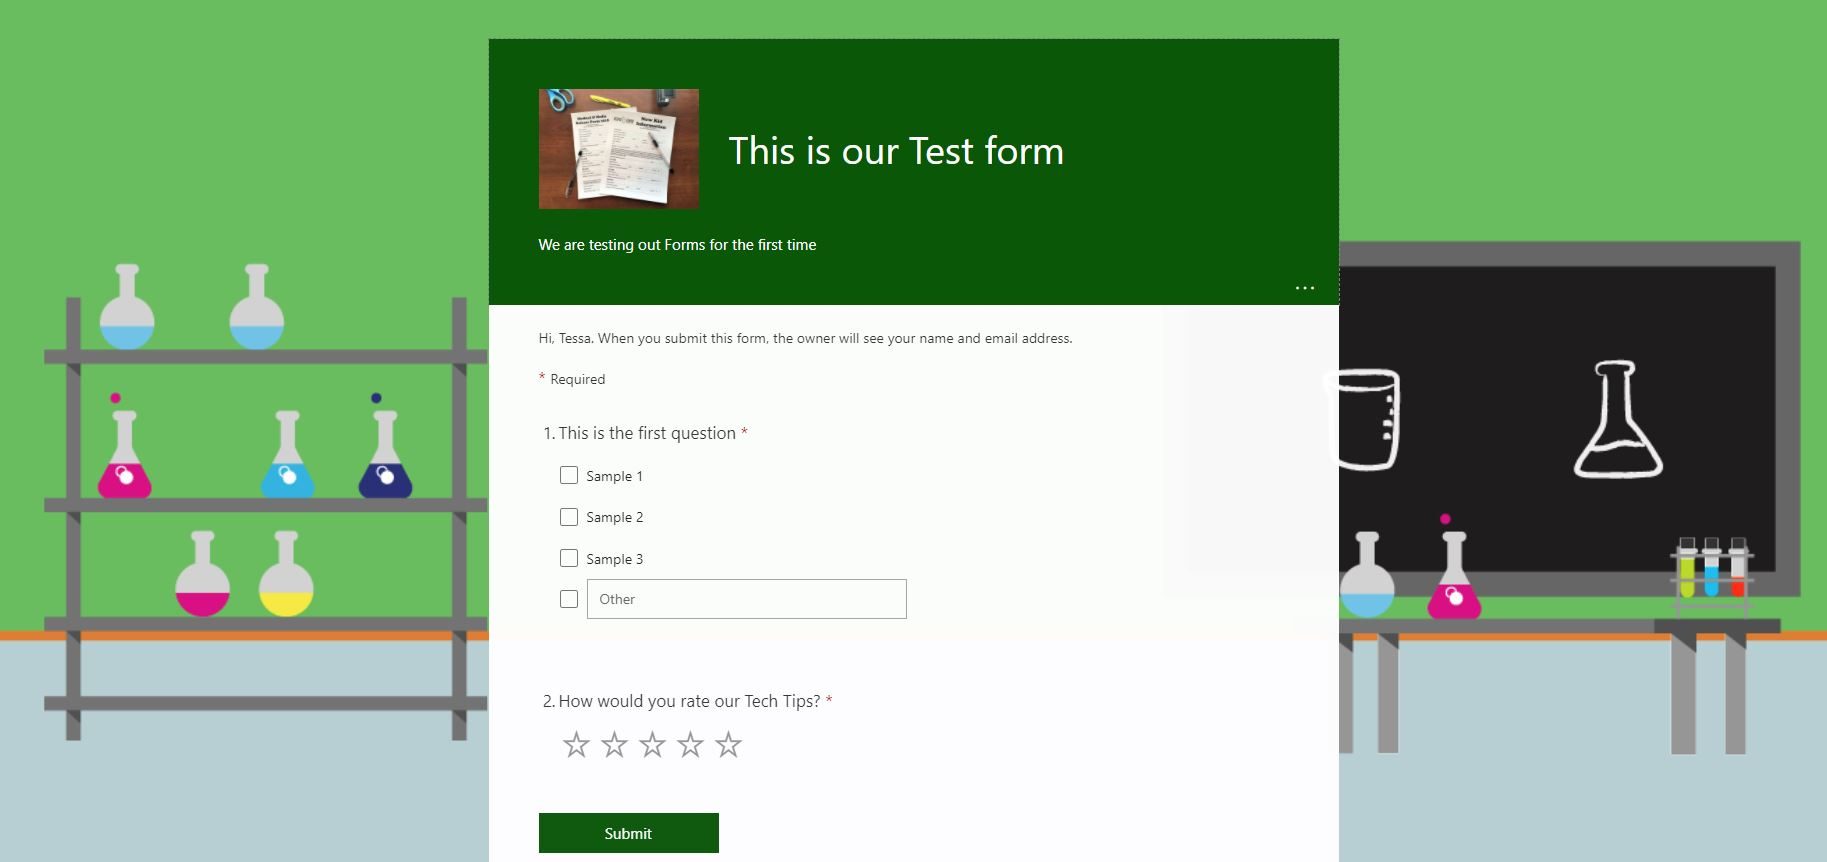
subtitle. You will see in our later screenshots we went with the incredibly original title "this is our Test form"
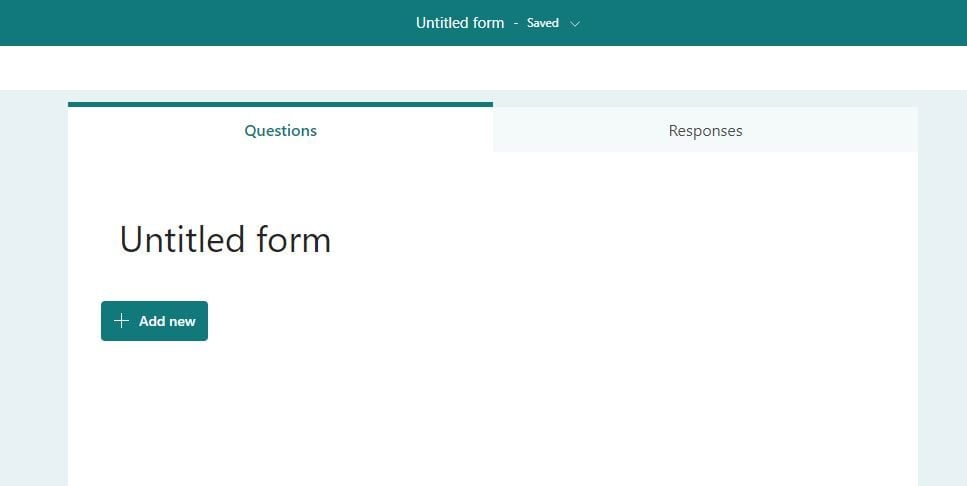
1. Click Add New to add a new question or information field
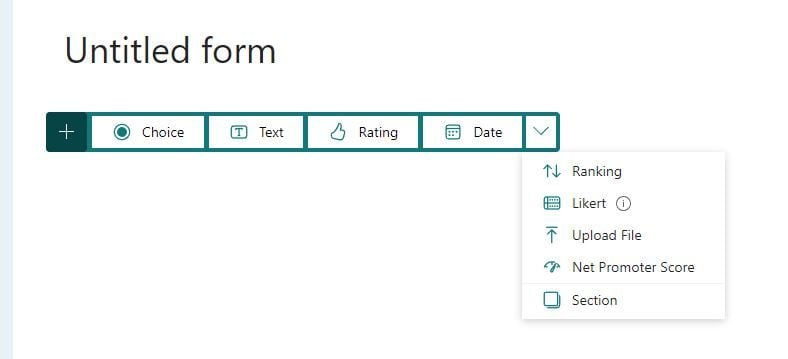
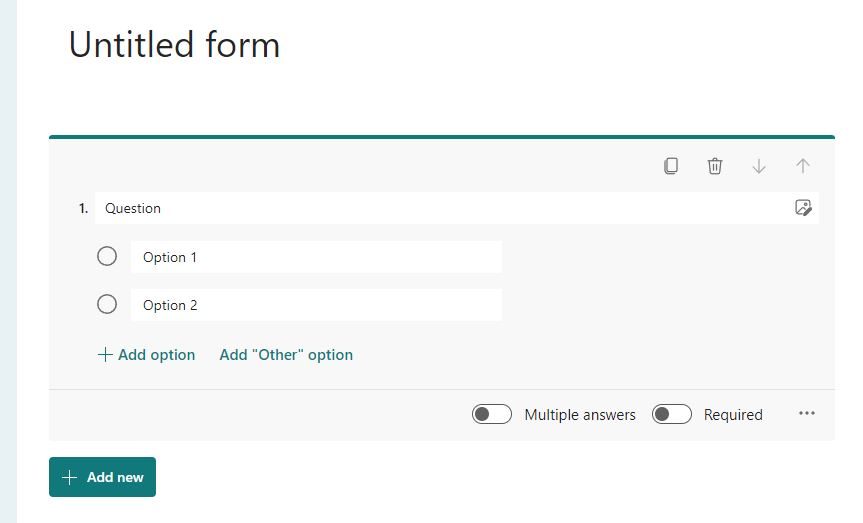
2. In this example we are choosing a Choice question, once the question field is added you can enter in the text for your question, if you would also like to include a picture this can be done by clicking the picture icon at the end of the text field.
You will also note that you can adjust the settings on the question to allow for multiple answers to be chosen or for the question to be compulsory by toggling the selections.
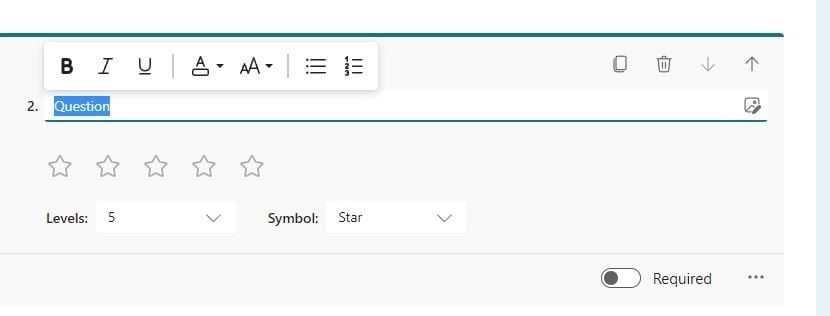
3. You can also choose to add other types of questions, like requesting a star rating, this is done in the same way as the Choice
question above and allows for the question to be compulsory.
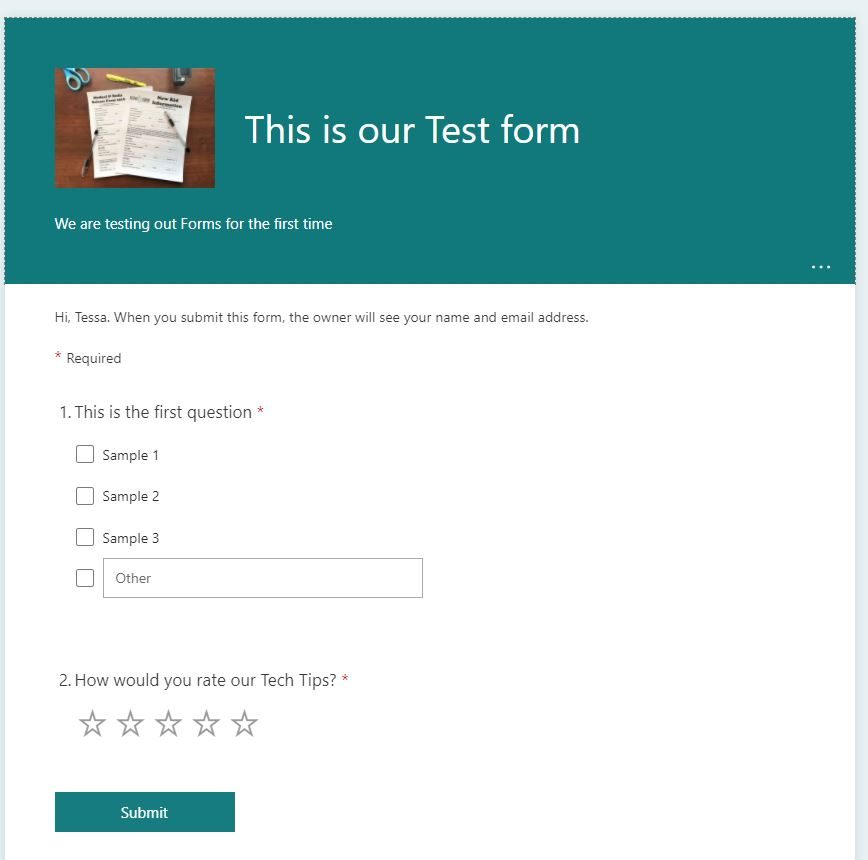
4. When you are ready to look at the layout of your New Form you can simply go to the top right of your screen and you will see the Preview option

Simply click on this to view either the desktop preview, like below:
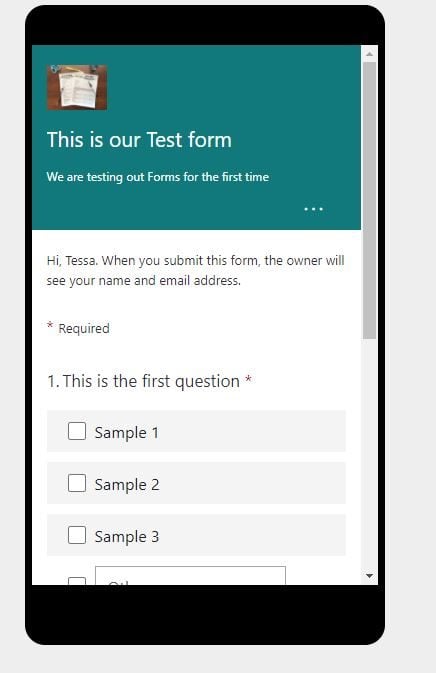
Or the preview for mobile devices shown here:
As a handy feature, Forms also auto-save's your progress as you go, so no need to worry about losing your changes.
Adding a Theme to your form
If you want to make your form look super snazzy simply add a theme, there are some great template options available through Forms, these
are accessible through the Theme menu.
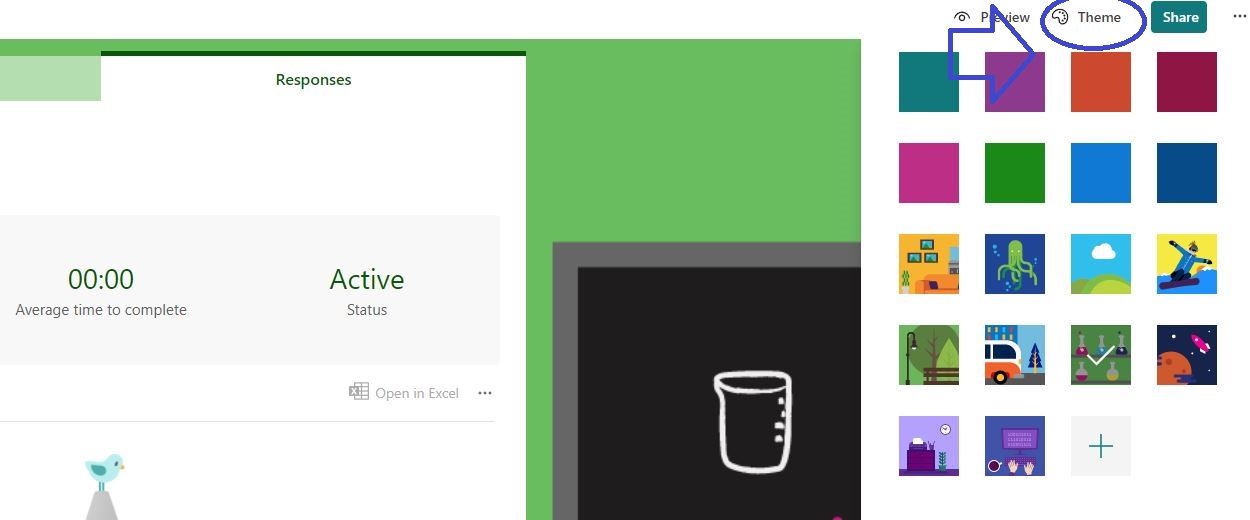
We went with the Chemistry Classroom themed option for our form, as you can see, it inserts itself as a background to your form to make it
look a bit more interesting.
You can also customise the theme or upload your own image by choosing the + symbol.
Collaborate on your form
If you want to collaborate with other team members or get some external inspiration for your form you can easily share the form to
others for their feedback and input.
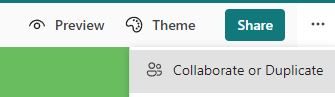
Beside the Share option on the top right of your screen click on the 3 dots and choose Collaborate or Duplicate from the menu
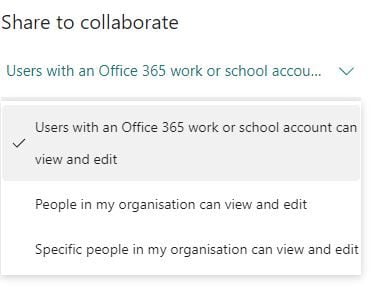
Once here you will get the option of sharing was outlined below, simply choose your level of collaboration and then copy the link provided.
Customise your thank you message, date to respond and email notifications
You can customise your form even further including limiting when the form is open, showing a custom thank you message or making sure
you receive an email notification for every response.
To do this, head over to the Settings menu
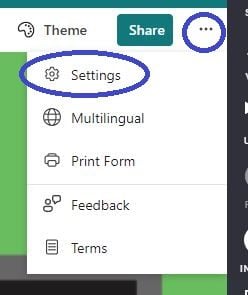
Under Settings are all the options available to you, simply adjust them as you need, Forms will autosave as you progress
through and apply the changes immediately. 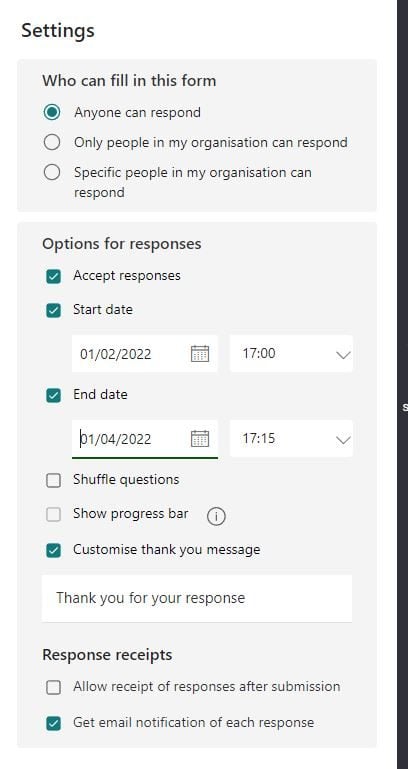
Sharing your form
Once you are happy with the development of your form you are only a few clicks away from sharing it with your intended audience.
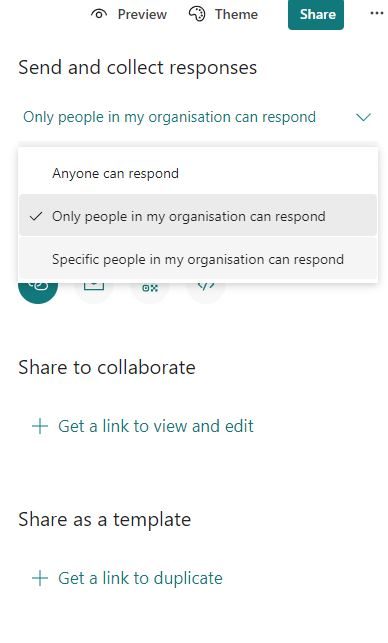
1. To do this click the Share option
2. Under Send and collect responses you can choose to have the form accessible by:
- anyone
- only people in your organisation
- only specific people in your organisation - this option is great for choosing staff from specific departments in your business
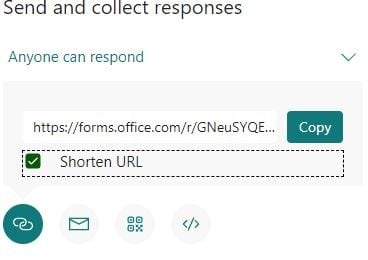
You will see underneath the Send and collect responses that there are 4 icons, each of these icons represent a different way to share the link to the form, they are:
1. Copy the link
This option allows you to simply copy the URL and send on to others in any way you like, you also have the option to shorten the URL if needed.
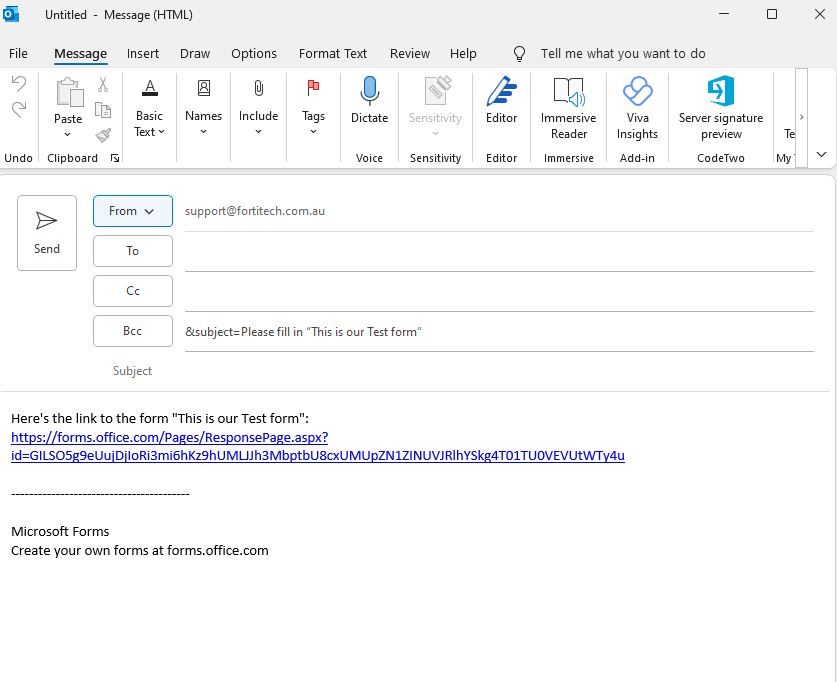
2. Send via your default email client
This option will automatically open a new email for you and prepopulate it with the link and some basic text for your message. You can change the text to suit your own message including the subject line.
3. Create a QR code
Creating a QR code is a great option for use on printed forms, uses can simply scan it with their phone and answer on their mobile device.

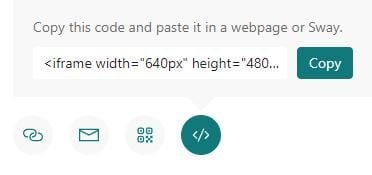
4. Copy iframe code for use on a website or Sway
If you are looking to integrate a form on your website iframe code is a great way to do this, simply copy the code and insert it
on your site. The survey will display the same as you would see it through a browser.
View Form responses
Now that you have sent out your form and are eagerly awaiting responses or have received a notification of a response (if you
have set that up using the Settings method above)
you can can easily check any responses by heading to the Responses tab.
The responses tab also includes a dashboard of useful info including the number of responses and average time to complete, this is
particularly useful if you want to assess whether the form is taking too long to complete.
You can view each of the responses individually or you can choose to open them in Excel and extrapolate the data from there.

And that rounds out another of our Microsoft Office Suite Tech Tips, we trust that you have found these Forms tech tips useful and
can use some of them to improve your productivity at home and work.
Contact us today to protect your business data.