Following on from our previous Tech Tips for Microsoft
Word,
Microsoft Excel, OneDrive
for Business, Windows
10,
Windows 11 and Teams
this week we cover Microsoft Outlook 365.
Microsoft Outlook 365, a robust email and scheduling application that is widely used by businesses around the world. With its array of
features, Outlook 365 can significantly streamline your workflow, making it easier to stay organised and get more done.
Whether you're a seasoned user or new to the platform, the following tips will help you use Outlook 365 more efficiently, so you can spend less time managing your inbox and more time focusing on your core business activities.
Better yet, combine these tips with our Email Antispam service to reduce the amount of spam you get in your inbox and you will turbocharge your productivity on a daily basis.
In this blog we will cover:
- Using Templates to save time
- Streamline Your Inbox with Folders and Rules
- Delay Email Delivery
- Schedule and Automate Meetings with FindTime
- Set up Categories and Color-code your Emails
1. Using Templates
One way to save time in Outlook 365 is by using email templates for commonly sent messages. Instead of typing out the same response
multiple times, you can create a template and use it when needed.
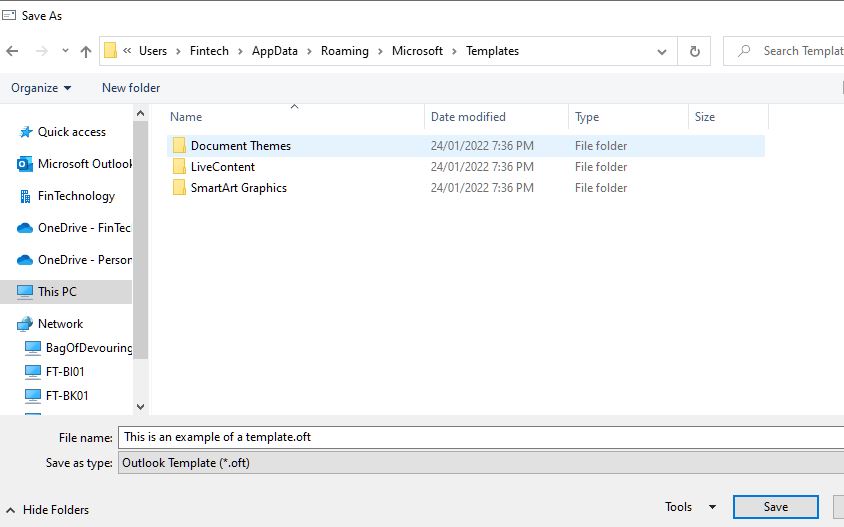
To create a template, compose a new email, then go to:
"File" >
"Save As"
and choose "Outlook Template".
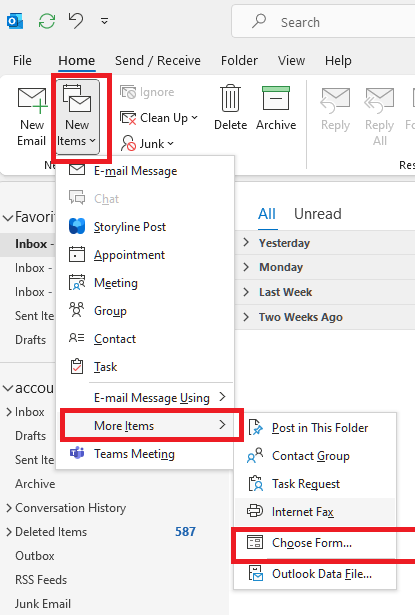
When you want to use the template, go to:
"New Items" >
"More Items" >
"Choose Form"
and select your template from the list.
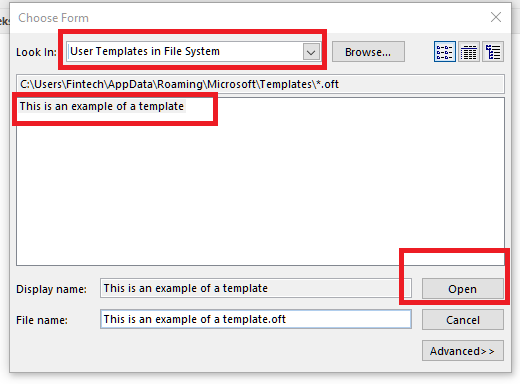
Once you click open your template will open as a new email and you can choose your recipients.
2. Streamline Your Inbox with Folders and Rules
Create folders to organise your emails by project, client, or other categories. You can then set up rules to automatically move incoming
emails to specific folders.
To set up a rule, go to "Home" > "Rules" > "Create Rule" and follow the prompts.
For example, you could create a rule that moves all emails from a specific client to a "Client" folder.
3. Delay Email Delivery
If you want to write an email but don't want to send it immediately, you can delay its delivery.
To do this, write your email as usual, then go to:
"Options" > "Delay Delivery"
and choose the date and time you want the email to be sent.
Once you have done that you can hit send on your email and it will sit in the Outbox until the scheduled time
This is useful if you are working late at night and don't want to send emails at odd hours, or if you want to schedule an email for a future date.
4. Schedule and Automate Meetings with FindTime
FindTime is an add-in for Outlook that helps you find the best time to schedule meetings.
You can use FindTime to suggest multiple times that work for you, then poll your participants to see when they are available.
Once everyone has responded, FindTime can automatically schedule the meeting and send out invitations. This eliminates the back-and-forth of trying to find a time that works for everyone.
Installing FindTime in Outlook Desktop
- Open Outlook.
- Go to Home > Get Add-ins.
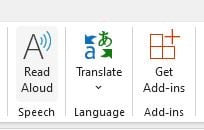
3. Search for the FindTime add-in.
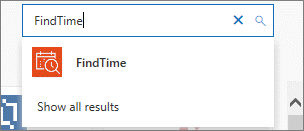
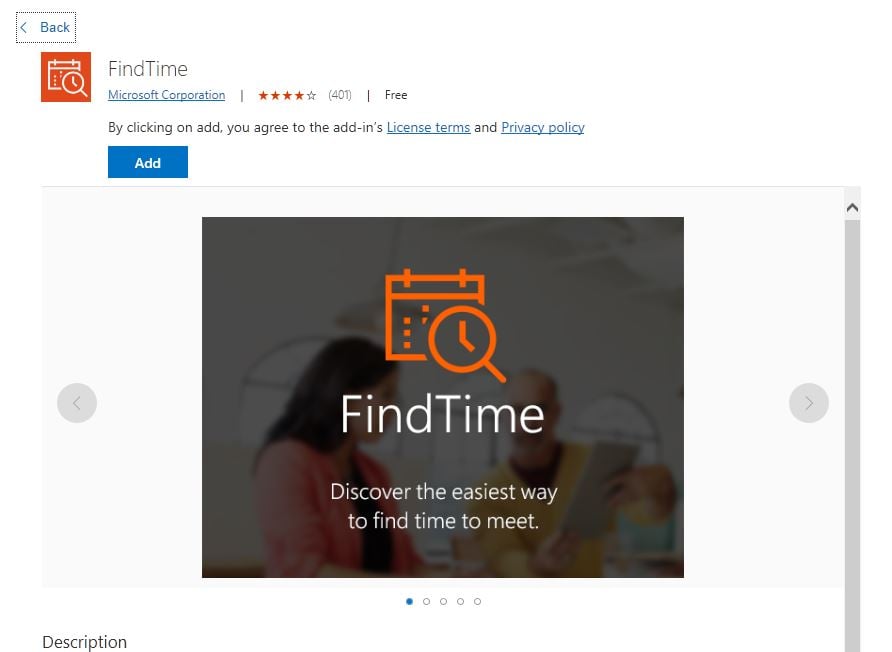
4. Select Add.
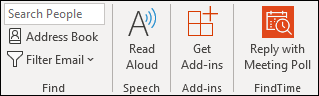
5. You will now see the FindTime Reply with Meeting Poll in the Home tab.
Some Add-ins may show Reply with Scheduling Poll instead.
 OR
OR 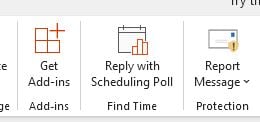
5. Set up Categories and Color-code your Emails
You can assign categories to your emails and use color-coding to visually distinguish between different types of emails. For example, you
might assign the category "Urgent" to important emails and give them a red color, or the category "Client" to client
emails and give them a green color.
This makes it easier to quickly identify and prioritise emails in your inbox.
To assign a category to an email, right-click the email, hover over "Categorise", and select a category from the list.
You can also create custom categories by selecting "All Categories".
That rounds out our Tech Tips for Outlook 365, we will be sure to post more in the future, so don't forget to check back on our blogs.