When it comes to collaborating with your team or sharing documents with clients, Microsoft SharePoint offers a simple, secure, and flexible way to manage file access. Whether you’re sharing files within your organisation or externally, SharePoint gives you control over who can view, edit, or download your content — all while keeping your data protected. With cloud-based access and integration with Microsoft 365, it’s an ideal tool for businesses that want to streamline file sharing and improve collaboration.
In this blog, we’ll walk you through the different ways you can share files and folders in SharePoint, how to manage permissions, and what you need to know to keep your information secure. Whether you’re new to SharePoint or just want a refresher, this guide will help you make the most of your file sharing options — both within your business and with trusted external contacts.
These instructions are based on using SharePoint via the Windows File Explorer, however the browser based instructions are very similar.
We will cover:
- Setting up the access to a file or folder
- Choosing the level of access
- Choosing the recipient
- Adding a personalised message to the recipient
- Adding an expiration date for access
- Sending the link
- How the recipient accesses the folder or documents
- Example of Email that is sent
- Email verification
- Successful folder/file access
- Unauthorised access
- Managing access
Selecting the folder/file to share
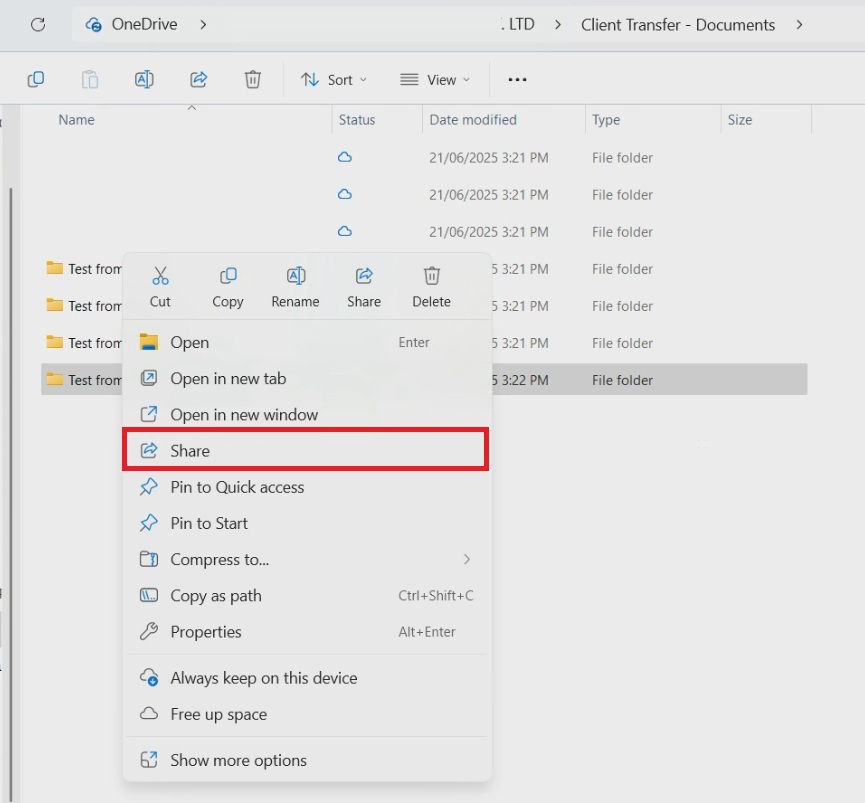
Right click the subfolder or file you would like to share
Click on the Share option
Setting the access
Once you have chosen share you will see a pop-up appear, this is where you can choose:
- What level of access the recipient has
- Who you want to share with
- If you would like to include a message in the email that goes to the other party
- The expiration of any access for the recipient
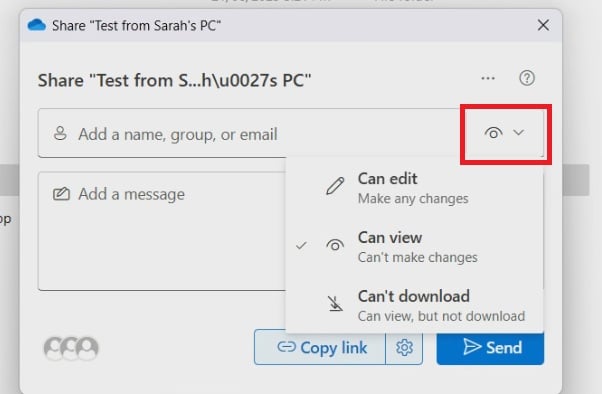
Choosing the level of access
There are 3 levels of access:
- Can Edit – can make any changes to the folder including renaming and deleting files
- Can View – Can view the folder/file but cannot make any changes
- Can’t download – Can view but cannot download the folder/files to their own computer
You can adjust the access for your recipient by choosing the dropdown on the recipient cell
Choosing the recipient
Once you have set the level of access you can now enter the email address of the recipient that you are sharing with, you can add multiple recipients in this field if you need.
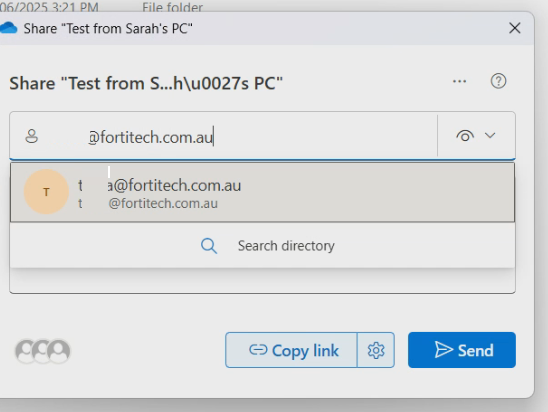
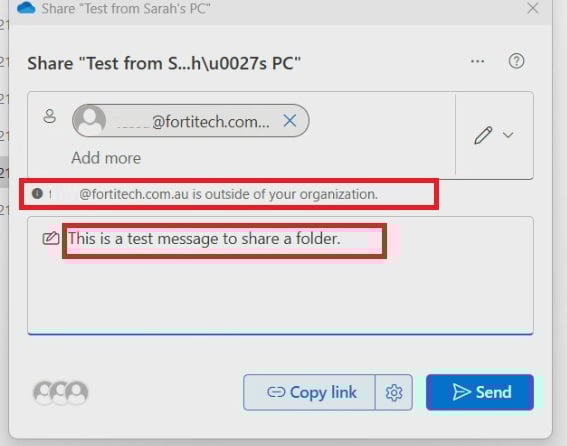
If the recipient is external to your business you will also get an alert once you have entered their email address to let you know that.
Adding a message
There is a message field where you can add any message you would like to include with your link, this message is displayed in the email that is sent to the recipient.
If you want to set an expiration date for the access you can click on the cog icon next to copy link
Adding an expiration date for access
After clicking the cog you will see at the bottom of the popup the option to add an expiration date for the access you can leave this blank or add in a preferred date.
If you add in an expiration date press the Apply button after.
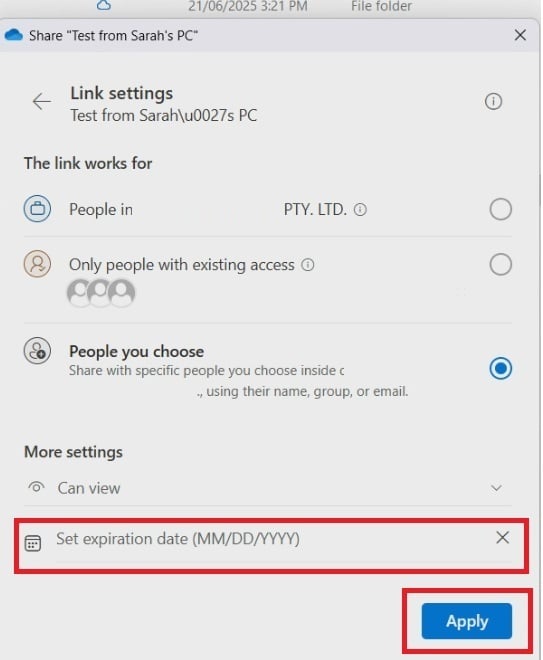
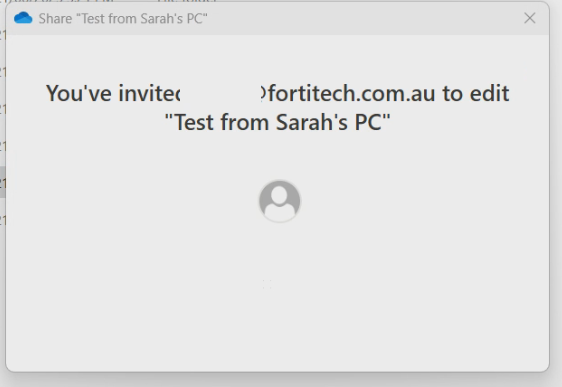
Sending the link
Once you are happy with your settings and recipients simply hit the Send button and you will receive a confirmation popup similar to the below.
How the recipient accesses the folder or documents
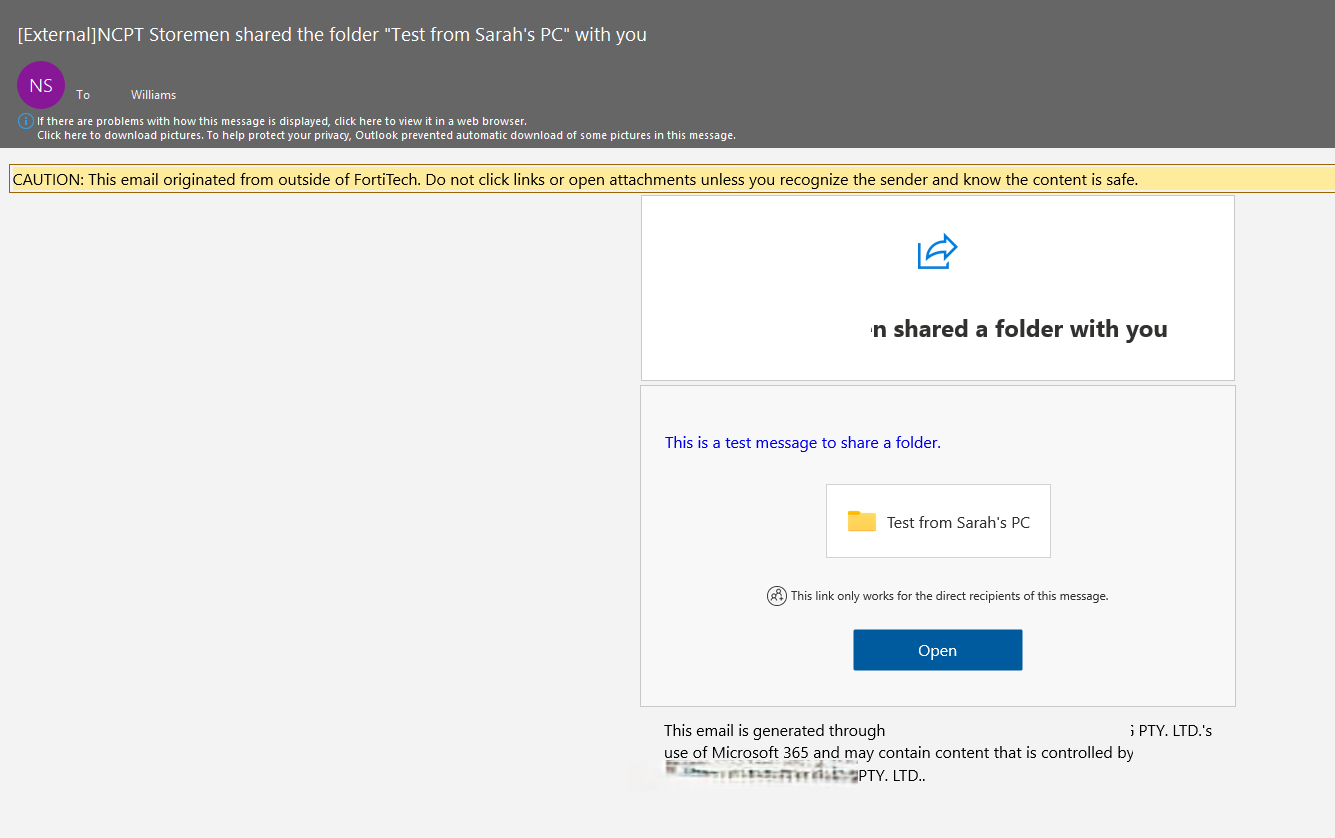
Example of Email that is sent
Once you have sent the link the recipient will receive an email similar to below. They just need to click on the Open button
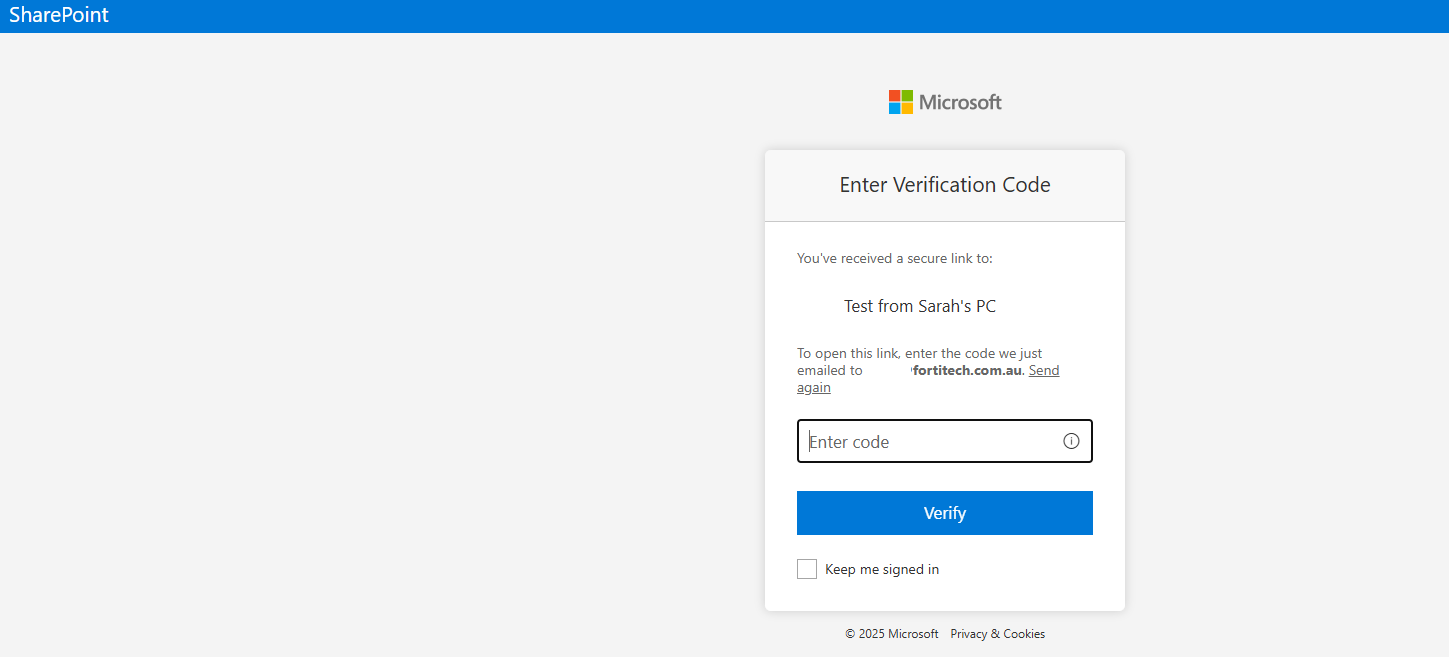
Email verification
They will then be taken to a webpage that asks them to enter their email address, this will then trigger a verification code to be sent to
their email address to confirm it is them accessing it.
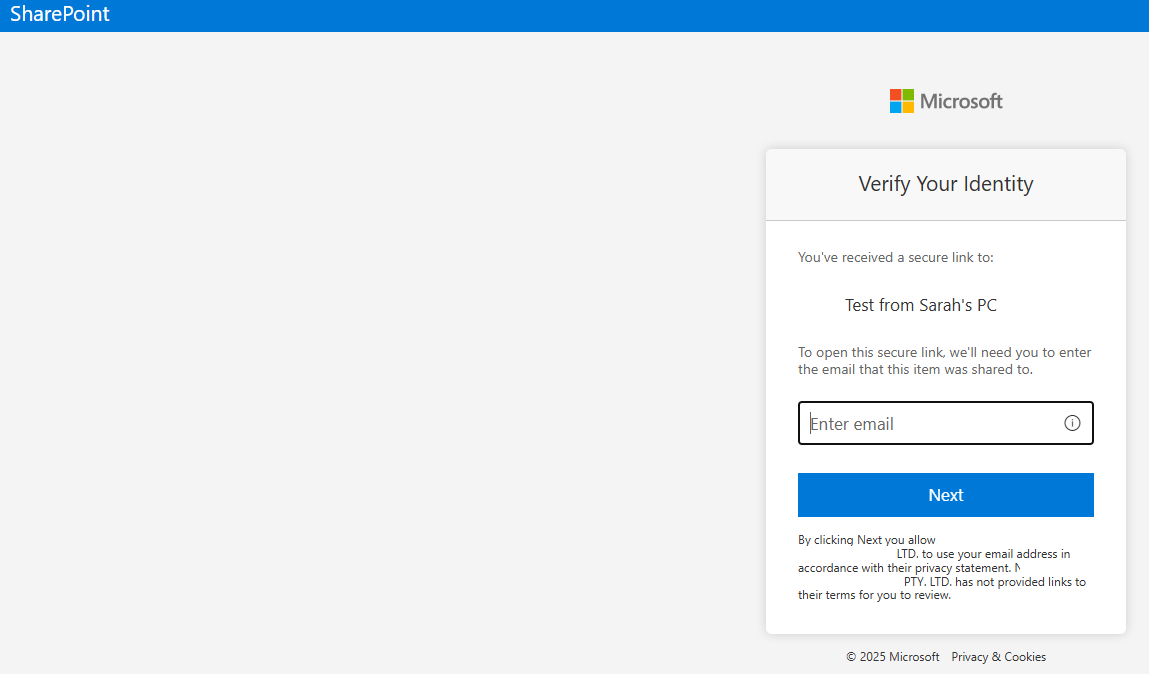
Once they enter their email the screen will change to one that allows them to enter the verification code
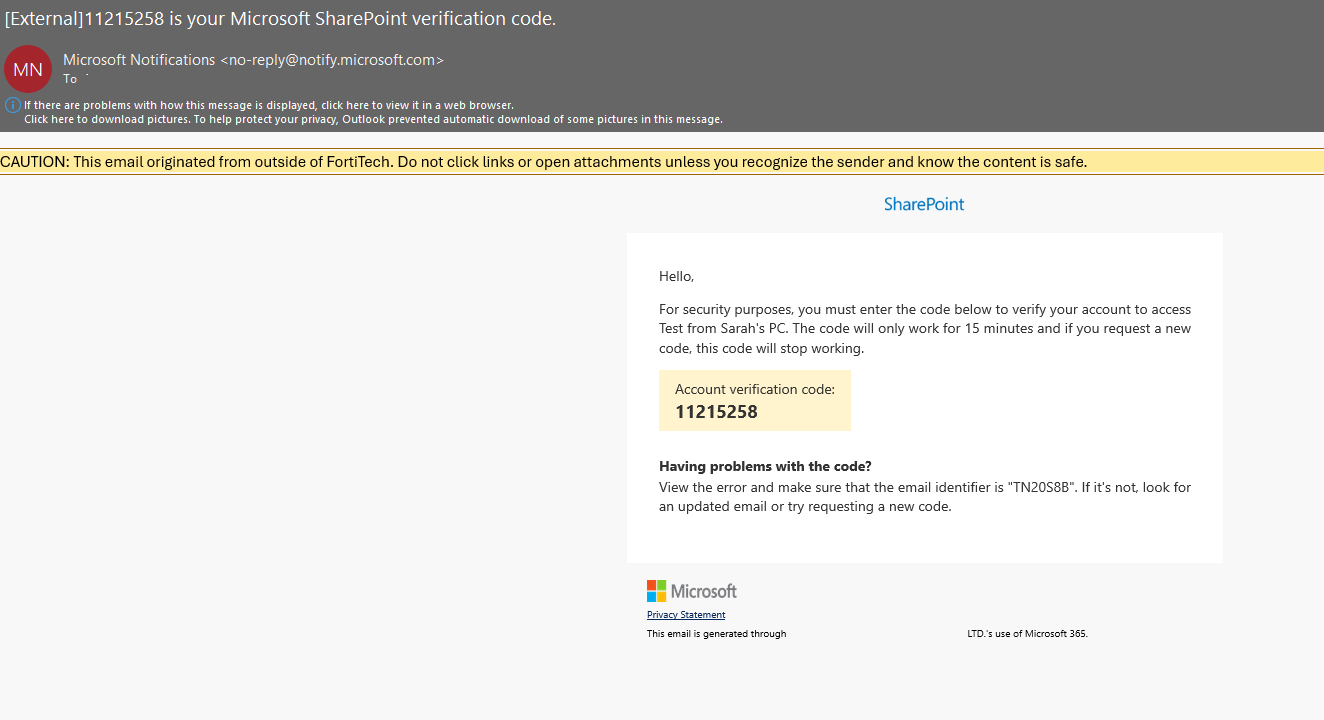
The code will come through on an email like this and they can just enter it on the above page and click Verify
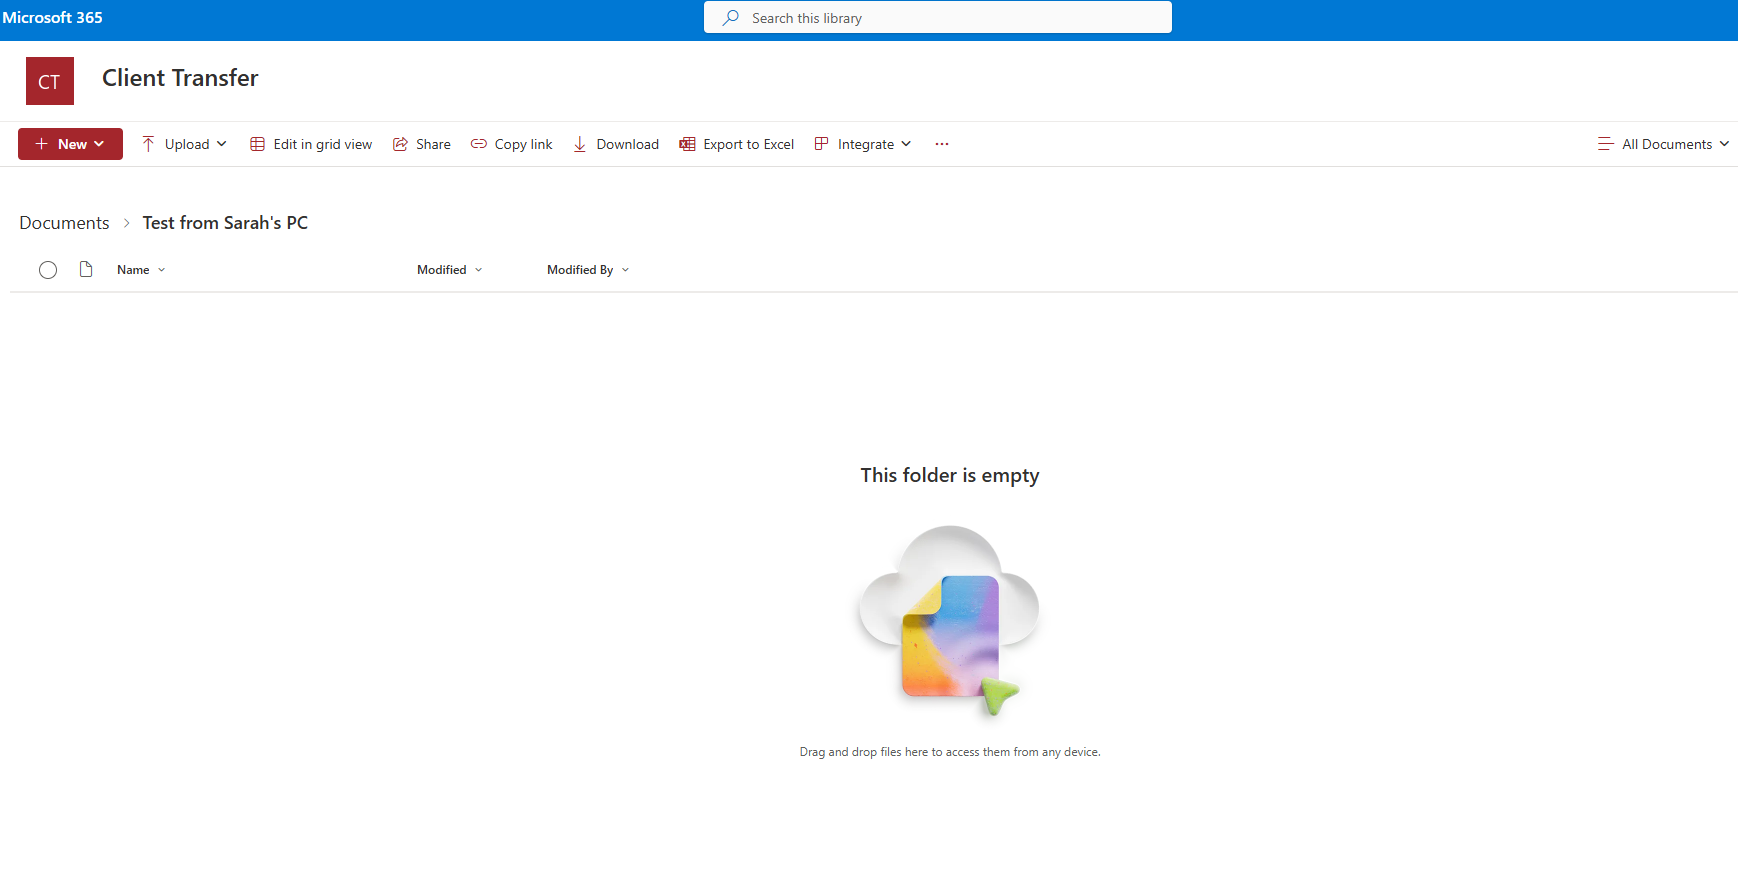
Successful folder/file access
Once they click Verify they are taken to the folder or file that they have access to
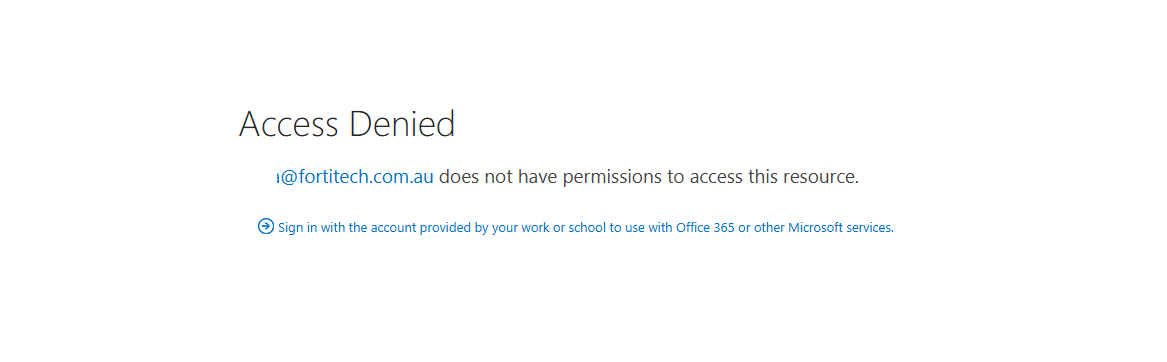
Unauthorised access
If they attempt to access any part of SharePoint that they do not have access to they will receive the following message on their screen
Managing access
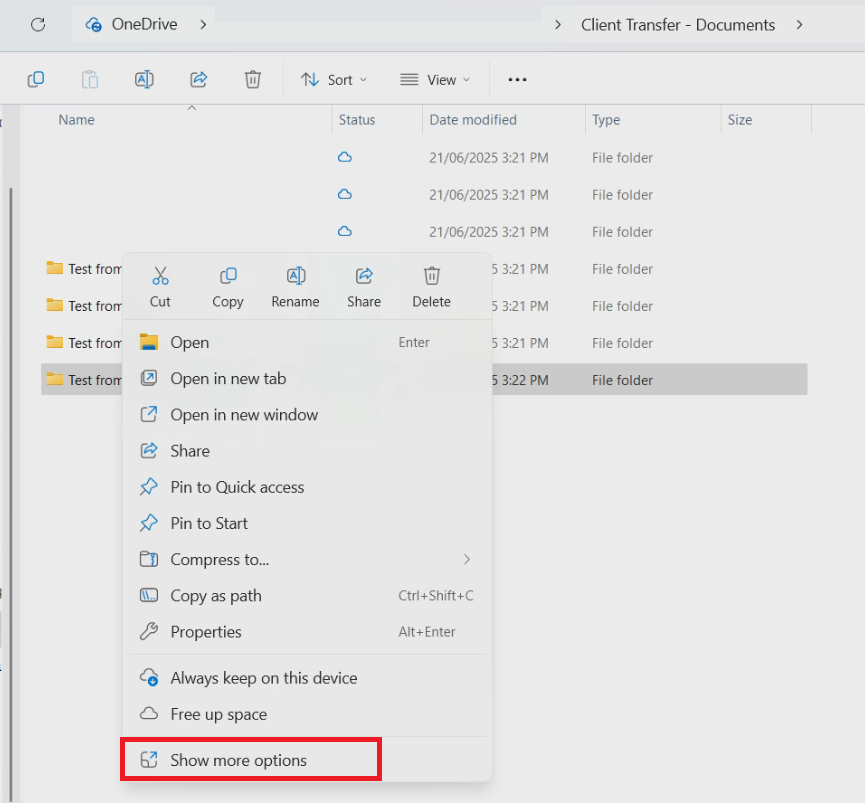
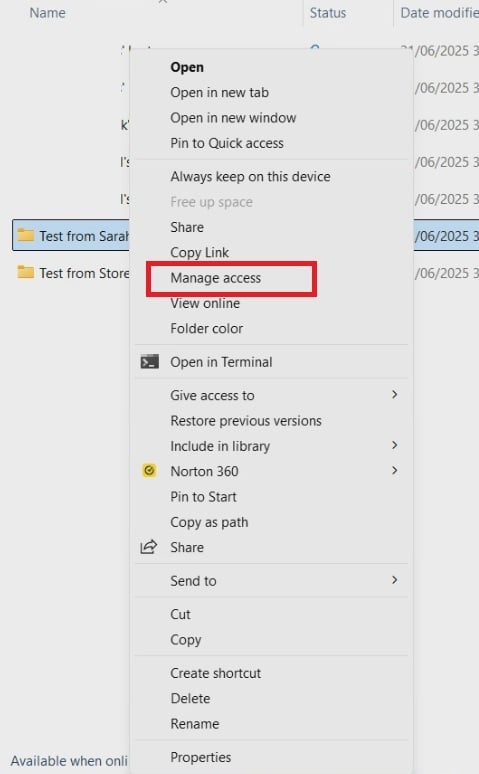
You can view who has access and remove access to the folder or document by right clicking on the folder/document and choosing Show more options then Manage Access
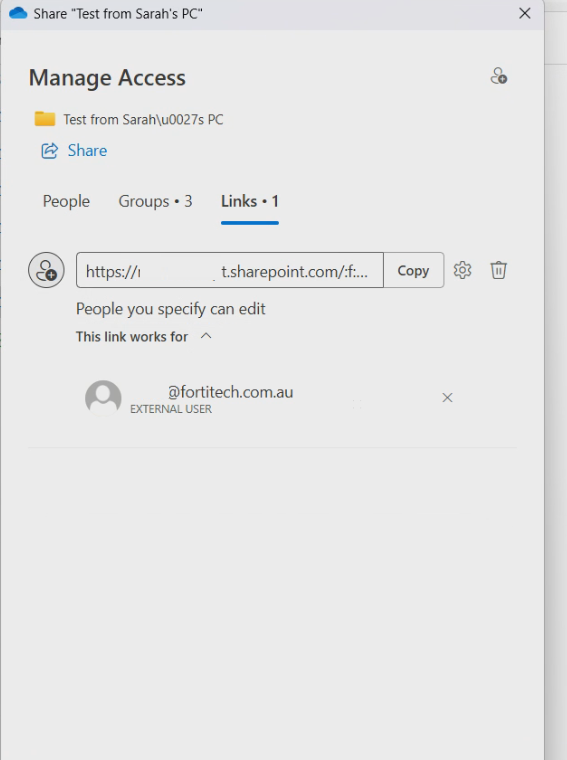
Once the popup appears you can go to the Links tab and see who has been given access, if you want to remove their access simply click on the X to the right of their name
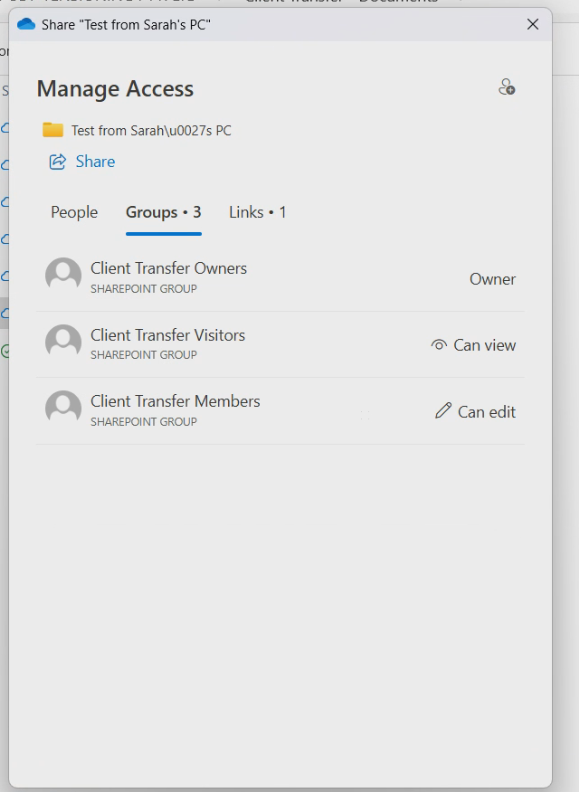
You can also view which Groups have access, Groups are generally created to include interal staff, but can also extend to include external.
Sharing files in SharePoint is a powerful way to collaborate effectively while maintaining control over your business data. By understanding the sharing options and permission settings, you can confidently manage who has access to your information — whether it’s your internal team or external partners. If you need help setting up SharePoint for your business or want advice on secure file sharing, feel free to get in touch with our team. We’re here to help you get the most out of your Microsoft 365 tools.