In this blog we are covering off setting up for the first time on a 3CX VoIP phone system, with everything from getting started to setting up a conference call.
If you have missed out on reading our previous Tech Tips, you can find them here.
First things first
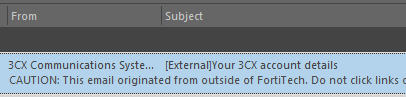
You will receive a Welcome email from the 3CX system, this email will contain instructions on setting up the 3CX app on your Desktop and
mobile.
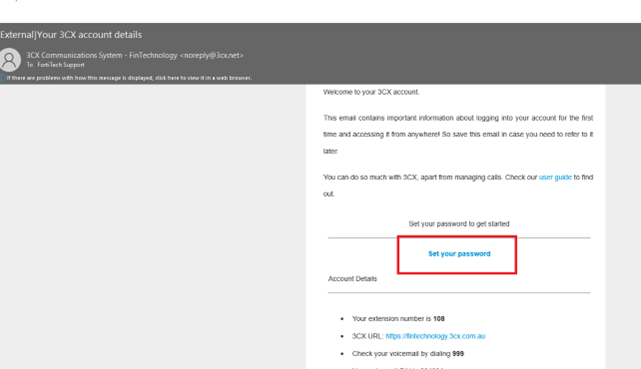
On the email you will receive information on:
- How to log into the Web Client and set up your password
- Your extension number
- Your extension PIN
- How to access your Voicemail (dial 999)
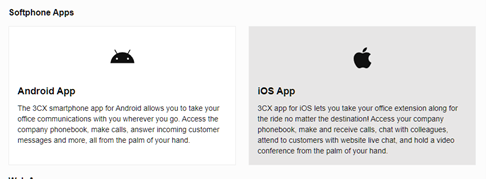
- How to install the New 3CX app for Windows/Mac desktop
- How to install the iOS or Android app
Example Welcome email
Setting up 3CX for the first time
Click on the Set your password link in the email and
Setting up 3CX for the first time
Click on the Set your password link in the email and
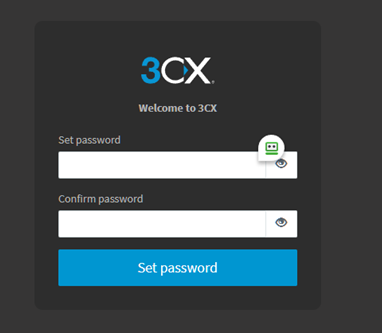
Set a secure password, it needs to be at least 10 characters including a capital letter, a number and a special character i.e. @ or # etc
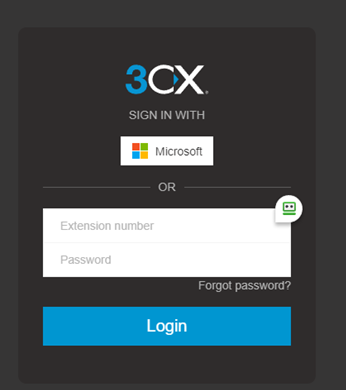
On the next page log in using your extension number and newly created password
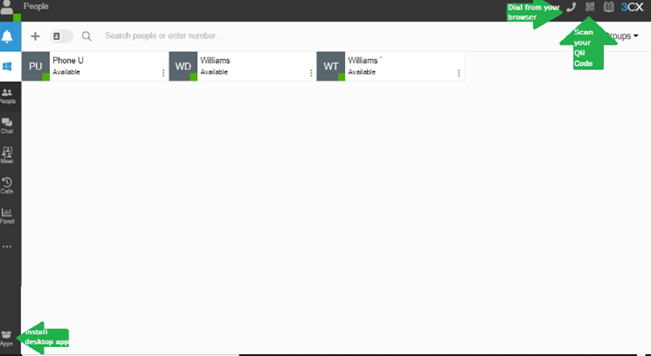
Once you are successfully logged in you will see the web version of 3CX, from here you can:
- Dial directly from your browser
- Scan the QR code for the mobile app or:
- Download the Windows app
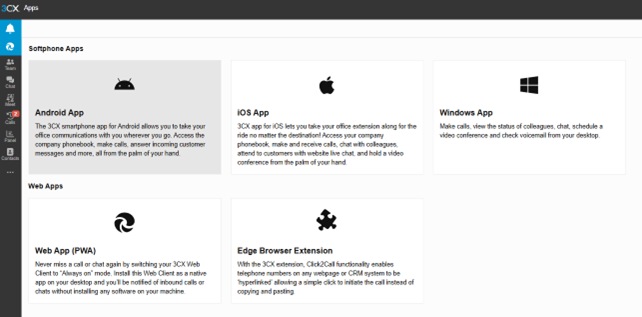
How to install the Desktop App
Clicking on Apps will bring up multiple options for installing the app on both Mobile and Desktop
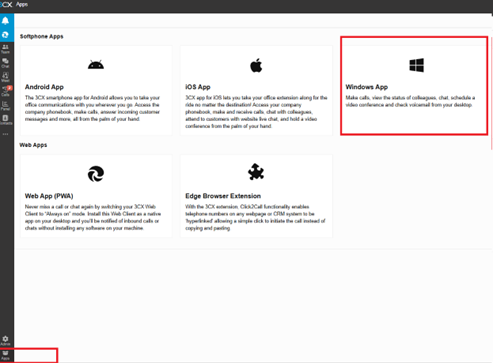
If you click on Desktop App you will receive the below pop-up, click on Windows
App to
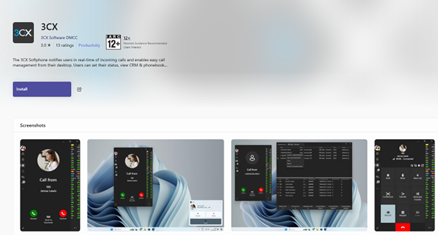
open the Microsoft store on your computer, click on Install to download and run the
software from the Microsoft Store, you can also open the Microsoft Store and search for 3CX
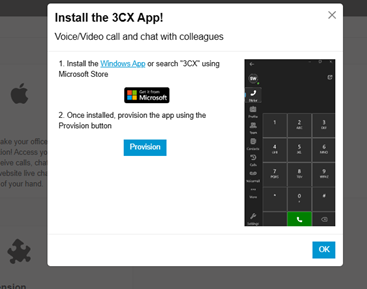
Once the installation has completed those steps then head abck to your browser and click on the Provision
button to connect the app to your extension.
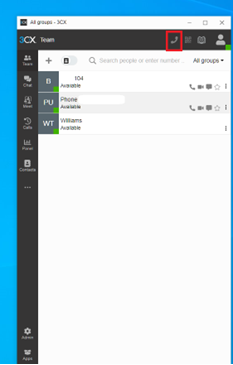
The
Desktop app is now installed locally on your computer, you will initially be
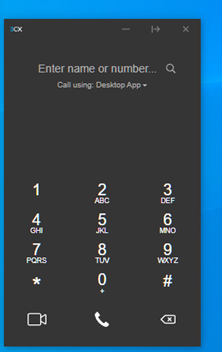
greeted by the below screen, if you click on the phone button on the top right
this will bring up the dialler and you can now make calls using the app. If you wish, you can minimise this initial
screen and just leave the dialler available on your desktop until you need to
access your contacts, call log or groups.
How to install the Mobile App
If you want to also install the iOS or Android version of the app then click on the preferred mobile app from the Web Client
you will receive the below pop-up:
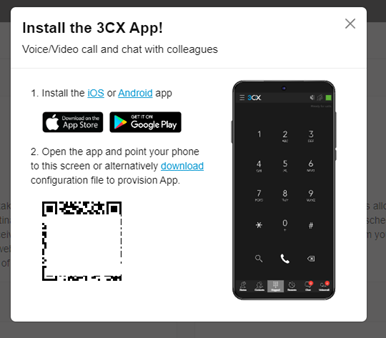
Make sure to download the 3CX app on your mobile, either through the Play
Store for Android devices or
through the App Store for iOS
devices.
Once the app has downloaded to your mobile open the app and scan the QR code that is
shown on your computer screen with your phone.
Give the app the permissions it requires such as microphone and camera. This will provision your extension and you are ready to make and
take calls.
Start a call
To call, click on the dial pad in the top right menu or click on the search icon. Enter the phone number or search by name or extension
number Choose your device to place a call
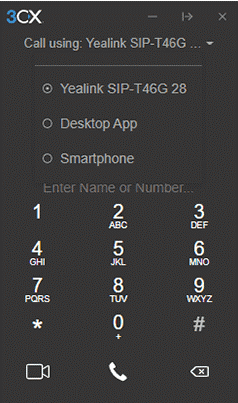
You can seamlessly place calls from your IP phone, the iOS or Android app, web client or the desktop app - wherever you have provisioned
your extension. From the phone selector in the web client’s dialer, you can select your preferred device and control calls from the
web client interface.
In call functions
Once you’re in a call, you can perform a number of actions with just a few mouse clicks.
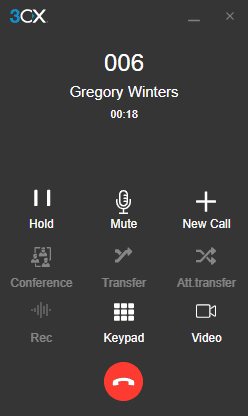
Transferring a call
Click on “Transfer” and enter the name or number of the person you want to transfer the call to. The call is
transferred without you speaking to the receiver on the other end - this is known as a blind transfer.
To speak to the receiver and get permission to transfer a call, click “Att.transfer”. This will allow you to put the
caller on hold and speak to the receiver before passing the call through
Creating a conference call
Click the “Conference” button and enter the name or number of the person/s you would like to add to the call.
They will be dialled and upon answering, will be added to the existing call.
Recording a call
At any time during a call you may record the conversation. Simply click “Record” to begin and click again to end
the recording. Recordings can be accessed in the Web Client > “Recordings”. Note: The
ability to record and to view/edit recordings depends on the permissions given to you by your administrator.
Initiating a new call
During an ongoing call, you may initiate a new call on a separate line without hanging up on the current call. To do this, click “New
Call” and
enter the name or number of the callee.
Switch to video call
During an ongoing call, you may elevate to a video call by clicking the “Video” icon in the dialpad, without
hanging up on the current call.
Stay tuned for more 3CX Tech tips, and if you have any requests for an upcoming Tech Tips send
them through to us.